Hoppy Easter!
Forgive me. Relying on bad Easter puns in a blog headline is not only cheep humor, it’s a hare irresponsible. Now let’s move very quickly to this week’s post. Just in time for the season, I’m happy to share some fun tips for decorating Easter eggs. Ready? Let’s hop to it!
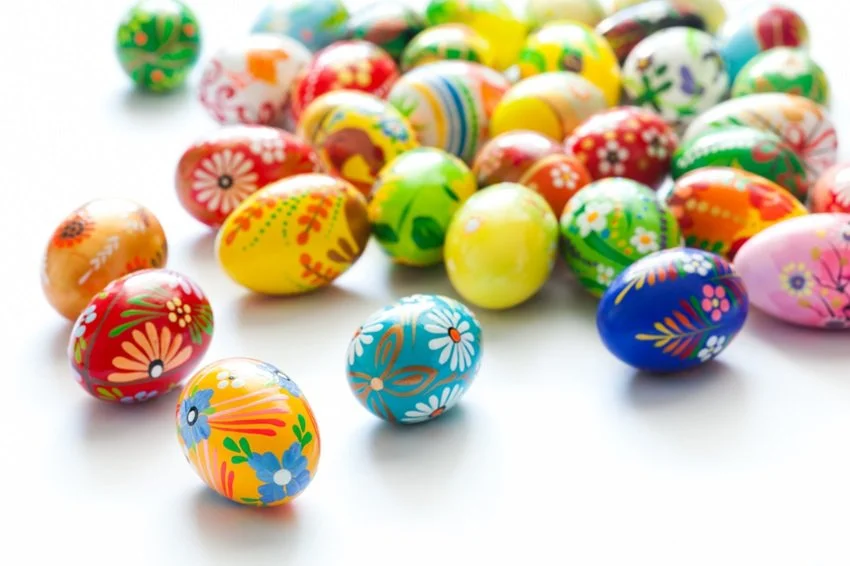
5 Easter Egg Decorating Tips & Tricks
*IMPORTANT NOTE: Before you get started, make sure you’re using real hard-boiled eggs that have thoroughly cooled. You may want to have disposable gloves on hand (clearly, this is the bad pun blog). And confirm the dyes you’re using are food safe.

1. Create patterns with crayons. This tip is an oldy but a goodie. Using a light-colored crayon (preferably white) draw any designs you like on your eggs before you dye them. Wherever your wax drawings are the dye will not be. Kids love this “magic” reveal of whatever has been drawn.
2. Make them sticker-rific. You’ll find cute stickers in the seasonal aisles this time of year. Plus, some may be included in your decorating kit if you bought a decent one and didn’t cheep out (sorry). Add stickers to uncolored or dyed eggs but be sure the eggs are completely dry before applying stickers.

3.Create speckled eggs. Mix uncooked rice and your choice of liquid food coloring (enough so the rice will stick to the eggs) in a sealed baggie. Mix well. Introduce your hard-boiled egg to the bag of fun and carefully move it all around until you achieve the desired amount of speckling (you can’t spell speckling without “peck” -- sorry). If you want multiple colors, you may want to use separate bags, or have fun playing with color blends.

4. Tye-dye with paper towels. Into a spray bottle, put 1 cup of water and 1 teaspoon vinegar, set aside. Wrap your egg in a paper towel, pulling it tight and securing it at the top with a rubber band. Apply several drops of liquid food coloring around the egg, mixing two or three colors in different areas. Hold the wrapped egg over a bowl and spray with the vinegar/water mixture until the paper towel is wet and the color has spread. Let stand for at least one minute before unwrapping to allow the egg to take the color.
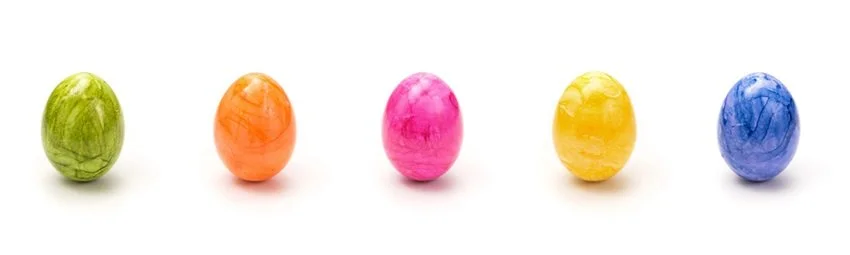
5. Create a marble look with Cool-Whip. Add a few drops of liquid food coloring to a bowlful of Cool-Whip. Swirl the egg around in the mixture, then let it sit in the mixture for about 30 minutes for the dye to set.
Important Safety Note: According to the CDC, you should not consume hard-boiled eggs left unrefrigerated for more than two hours.
I hope this blog helps you “spring” into action and get crackin’ (final apology, eggscuse me). Even if you don’t kids around your house, have fun enjoying the simple joys of getting messy and creative. Happy Easter, everyone!
Now, what will you do next to love where you live?
Please feel free to reach out to us at The Redesign Habit and ask questions or simply share a project that you are working on or have completed.