DIY PROJECT: MAKE YOUR OWN ACCESSORY ORGANIZER
Ladies, how many times have you been getting dressed to go out and you can’t find your favorite bracelet or the necklace you want to wear? Or you find your necklace but it’s tangled in a wadded mess with other necklaces? That frustration is about to end for good. In this post I offer you a perfect solution that’s also an affordable, easy and fun DIY project. Using pegboard and some simple supplies you can rid yourself of frustration and literally put all your pretty things in their place!

PROJECT STEPS:
1. Decide where you want to hang your organizer:
I hung mine in my closet on a bare wall.
2. Assess your accessories...:
...and your wall space and think about how many items you want to hang and how much wall space you want to use. That will determine what size to make your organizer.
3. Go to your favorite home improvement center:
Buy a piece of pegboard and a package of assorted hooks and holders designed for pegboards. Often the board is sold in a panel (often 2’ x 4’) big enough to create two or three sizeable organizers. That’s a good problem to have because you can always make extras to use in multiple spaces or to give as gifts.
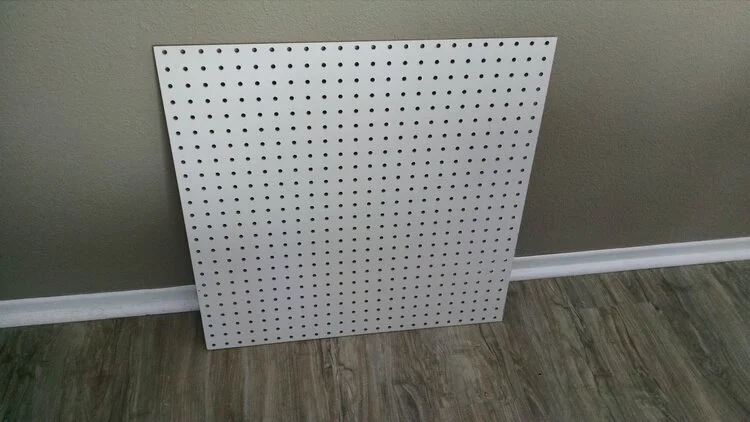
4. Size it up:
Cut the pegboard to the desired size.
5. Paint your pegboard:
You may choose to paint it to blend with an existing color scheme in the space it will hang. I painted mine gray to tie in with my bedroom color scheme. If you’re painting with a brush, first use light sandpaper to rough up the side you’re painting. Because pegboard is made from Masonite, it’s somewhat slick and may not take your paint well. If you’re spray painting, there’s no need to rough the surface.

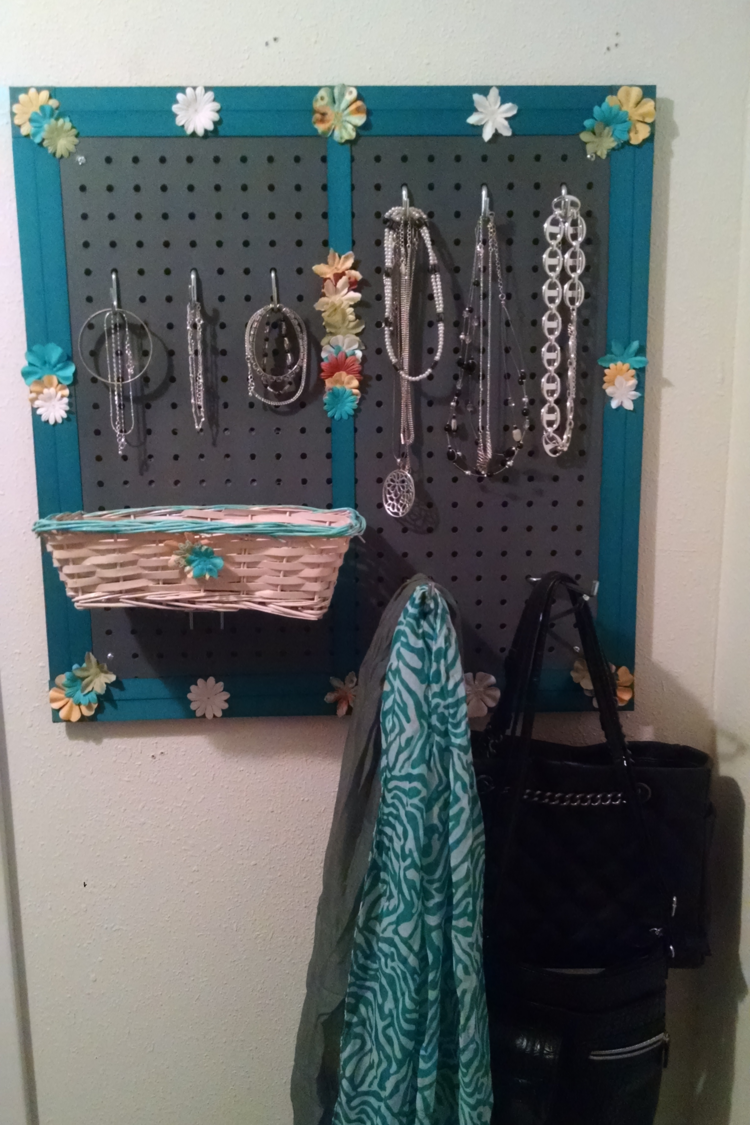
6. Decorate your pegboard:
Get creative here! You’ll find hundreds of fun items you can use to decorate your organizer. I recommend attaching them with a hot glue gun. If you don’t already own one, you’ll find it’s fairly inexpensive and you’ll use it over and over again. I added a border to mine by gluing ribbon around the edge for a more finished look, then glued my decorations to the board. You could also make a border by attaching trim or molding, or have fun by creating a border using separate items (shells, beads, glass stones, stickers—whatever trips your trigger) in an interesting sequence.

7. Hang your organizer:
Be sure to use spacers behind the board so you have room to insert and remove your hooks easily. I found a variety pack of hooks and holders that included the screws and spacers.
TIP: If you’re not mounting into wall studs, you’ll want to use anchors to make sure your fancy new organizer stays secure. If it crashes to the floor you’ll have the opposite of an organizer.
8. Time to space plan:
Play around with the different hooks and holders you have available until you get the best arrangement for your items, and then hang everything up. I made space on my organizer to attach a small wicker basket to keep watches and chunky bracelets. When your accessories change or you want to change things up, relocate your pegs or even strip your board and start over to create a new look.
This easy DIY project should only take a couple of hours, including paint-drying time. When complete, you’ll design a custom piece to please that wonderful person you always see in the mirror. I hope you will be frustrated no more and that all your pretty things will have the home they deserve!
Now, what will you do next to love where you live?