Garage Workshop Redesign Project
Many, many hours. That’s what I spend in my garage working on different projects. Some for fun and some for work, which, thankfully, is also fun. The projects range from furniture redesign and refinishing to crafting and decorating projects. When you do something for many, many hours, you’re smart if you make the space that you’re working in the best it can be. That definitely was not the case with my garage space – but that’s all changed now, baby! I got me a great workspace and I’m oh so happy! It’s nothing fancy, and people with a really nice, dedicated workshop may not be impressed. But for this redesign gal, it’s just right. Let me share how I got from workshop mess to workshop bliss…
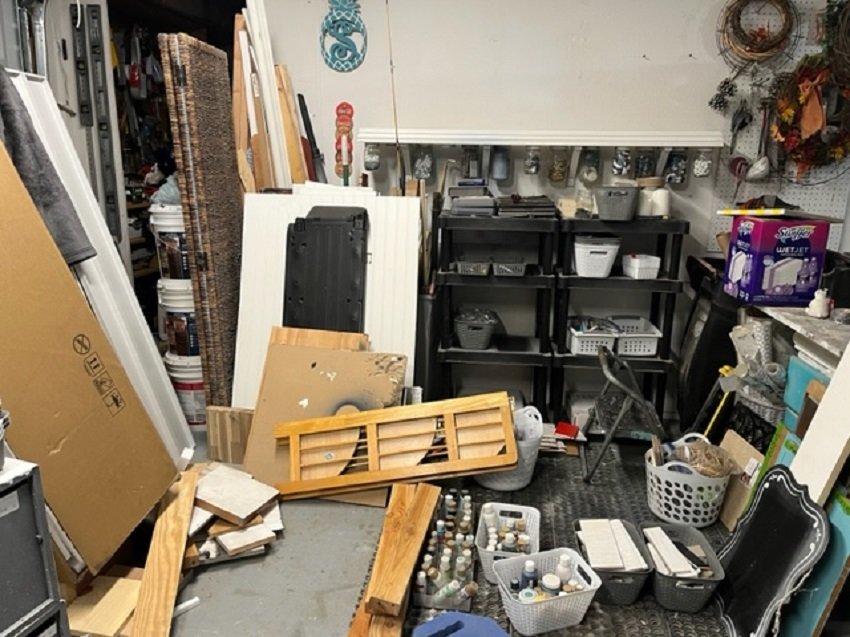
The before of the main workshop area!
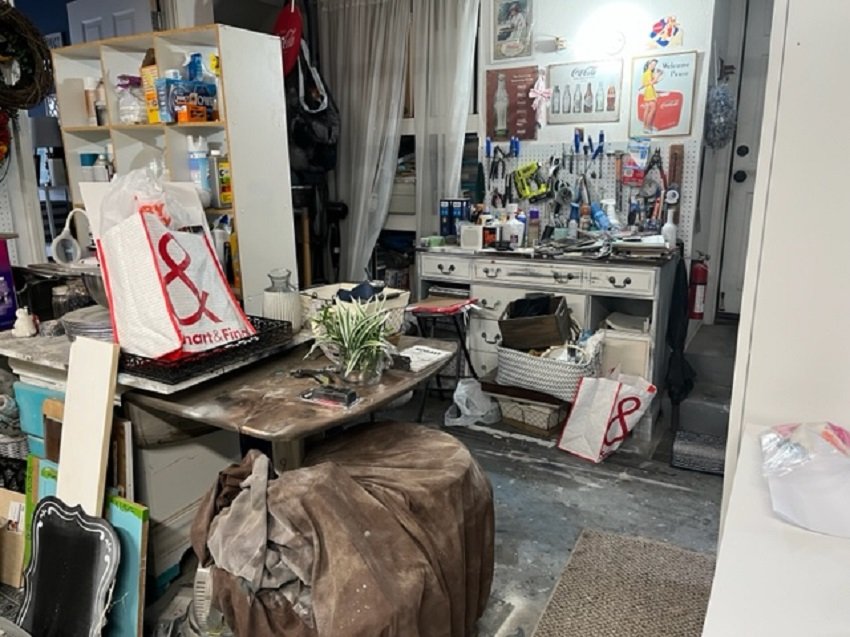
The before of the staging area
Work Area Problems I Was Trying To Solve
Lack of storage – If you do crafting and DIY, you know how stuff accumulates
Staging area for future projects – If you do crafting and DIY, you know how you can’t resist a great piece even if you can’t touch it for a while
Adequate work area with good lighting – If you do crafting and DIY, you know this is essential
A work area that looks good enough to film project videos for my business; this must include closed storage to eliminate visual clutter – Is this a problem for anyone else out there? Anyone???
I already had the space allotted in the garage for doing projects. Now it was time to fix it up right. First up was finding closed storage that looked good, gave me ample room, and wasn’t ridiculously expensive. I always try the home improvement stores first. You never know when they might be having a great sale. One thing to consider though is transporting those items. The type of storage I was looking for was going to be heavy and big so I ended up getting my cabinets on Amazon. The four smaller cabinets came in sets of two and were a good price and were delivered right to our door. How did we get by before Amazon? They had to be assembled but they would have from a home improvement store, too, unless you are willing to pay extra and have a truck to get them home. And typically I’m not willing to pay the extra $$$ and would rather spend my money elsewhere. The large metal cabinet also came from Amazon at a great price.
Steps for My Garage Workshop Makeover
We did a production-line type assembly one weekend (spread out all over the dining and living room) and knocked out the always-fun process of assembling stuff from sketchy directions. (You can see all the steps on the YouTube Video I created for this project)
Next up was sorting through everything in the garage. I made three piles, donate, keep, and throw away. I got rid of a lot of items I never use and also found things I didn’t know I had because they was buried. Yay! The project is yielding extra benefits.
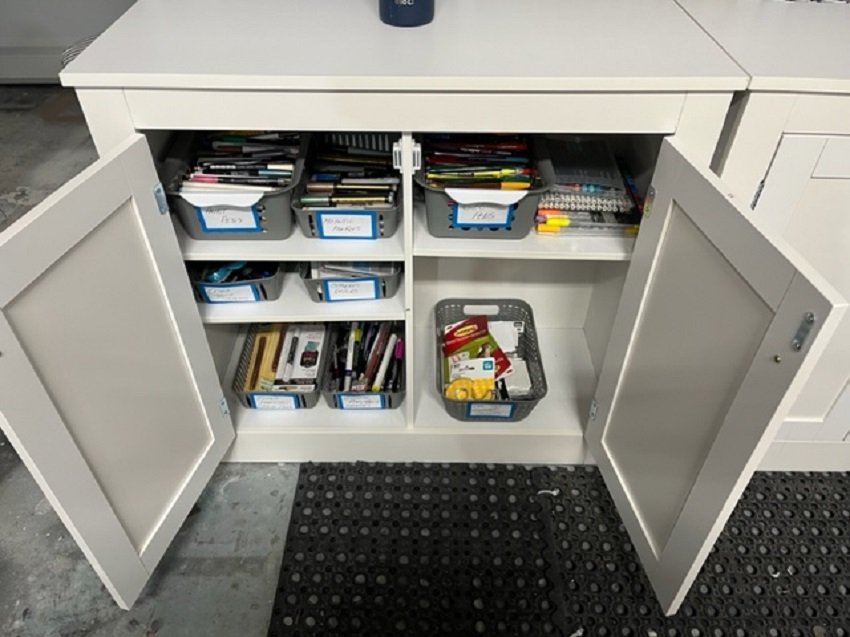
New storage complete with labels!
Now it was time to set up the new area and then the fun part of organizing everything and putting it away. I went to Dollar Tree and spent about $50 and got soooo many storage containers of all different sizes and shapes to help me keep everything sorted and put away in its proper place. I will label everything, too. I find that helps me put things back where they belong (not always my greatest strength).

Staging area for future projects.
Finally, we cleared out an out-of-the-way area to be used for staging future projects. This will keep my work area as well as the rest of the garage clear.
Final Thoughts
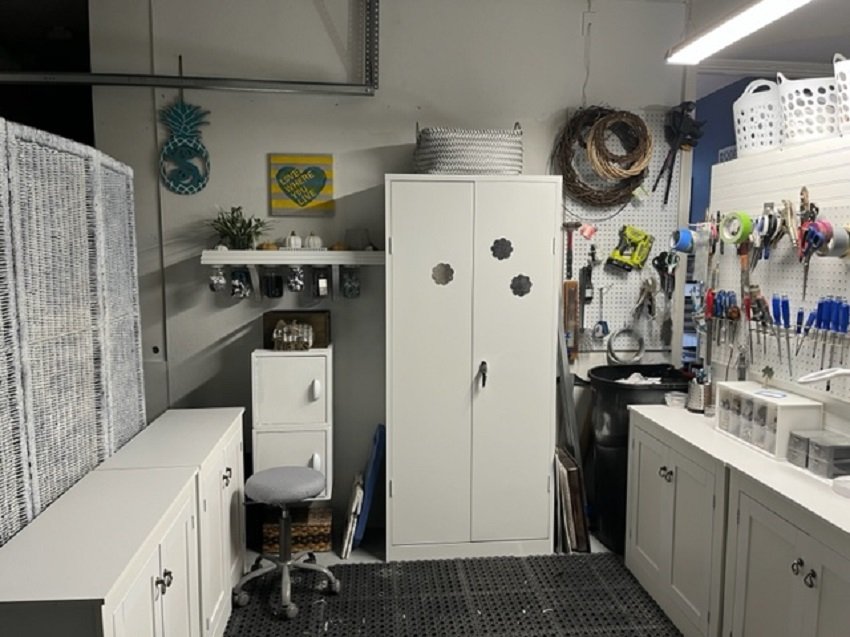
Completed workshop area.

Staging area is right next to my work area so one is very convenient to the other!
Now my new area is almost finished except for a few finishing touches. In the end, the time and money were well worth it for me to be able to have a functioning workshop, staging area, and studio. Let me just say it was a messy job and some days after working all day, we felt like we were just moving piles of stuff back and forth. Remember, every project feels terrible for a time as you are sorting and deciding, and that’s ok. The important thing is that the final space turns out the way you want it.
Now, what will you do next to love where you live?
Please feel free to reach out to us at The Redesign Habit and ask questions or simply share a project that you are working on or have completed.
For more great stories and ideas please follow us on Facebook and Instagram.