DIY Botanical Artwork: When a Project Changes the Plan
Sometimes the Best Ideas Aren’t the Ones You Start With.
I wasn’t looking for botanical artwork project that day. I was simply doing what I usually do when I walk into a thrift store—looking for possibilities.
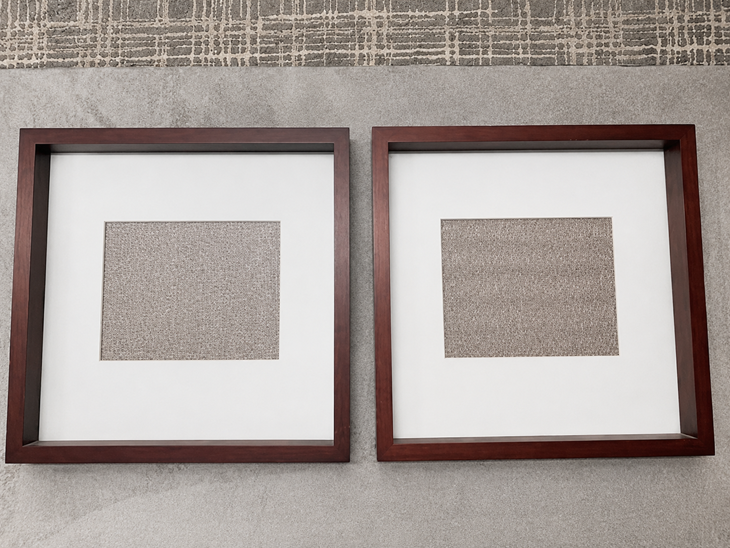
Tucked among the shelves were two square shadowbox-style frames. Though they were solid and came with mats and backing, their faux cherry finish had seen better days. However, they had potential (code for “This is probably going to take a lot longer than I’m telling Freddy.”)
Some projects begin with a detailed plan. Others begin with a thrift store find and a little curiosity.
Giving Old Frames a New Beginning
Before I could think seriously about the artwork itself, the frames needed attention. They had scratches and dings that I sanded by hand, paying special attention to the edges and corners. I roughed up the finish, several areas down to the bare wood where natural wear would normally occur. As the story goes, I was trying to turn the ugly duckling into a swan.
The Process
I mixed my homemade chalk paint using my usual recipe: one-half cup of Plaster of Paris dissolved in warm water, combined with one and one-half cups of flat latex paint. I almost always have flat white paint in my garage. It seems to multiply when I’m not looking, so at least it gets put to good use.
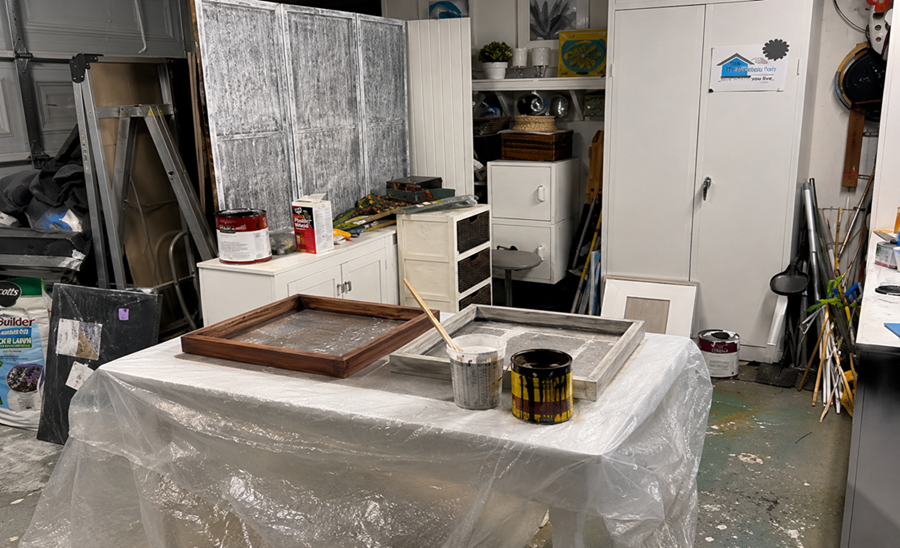
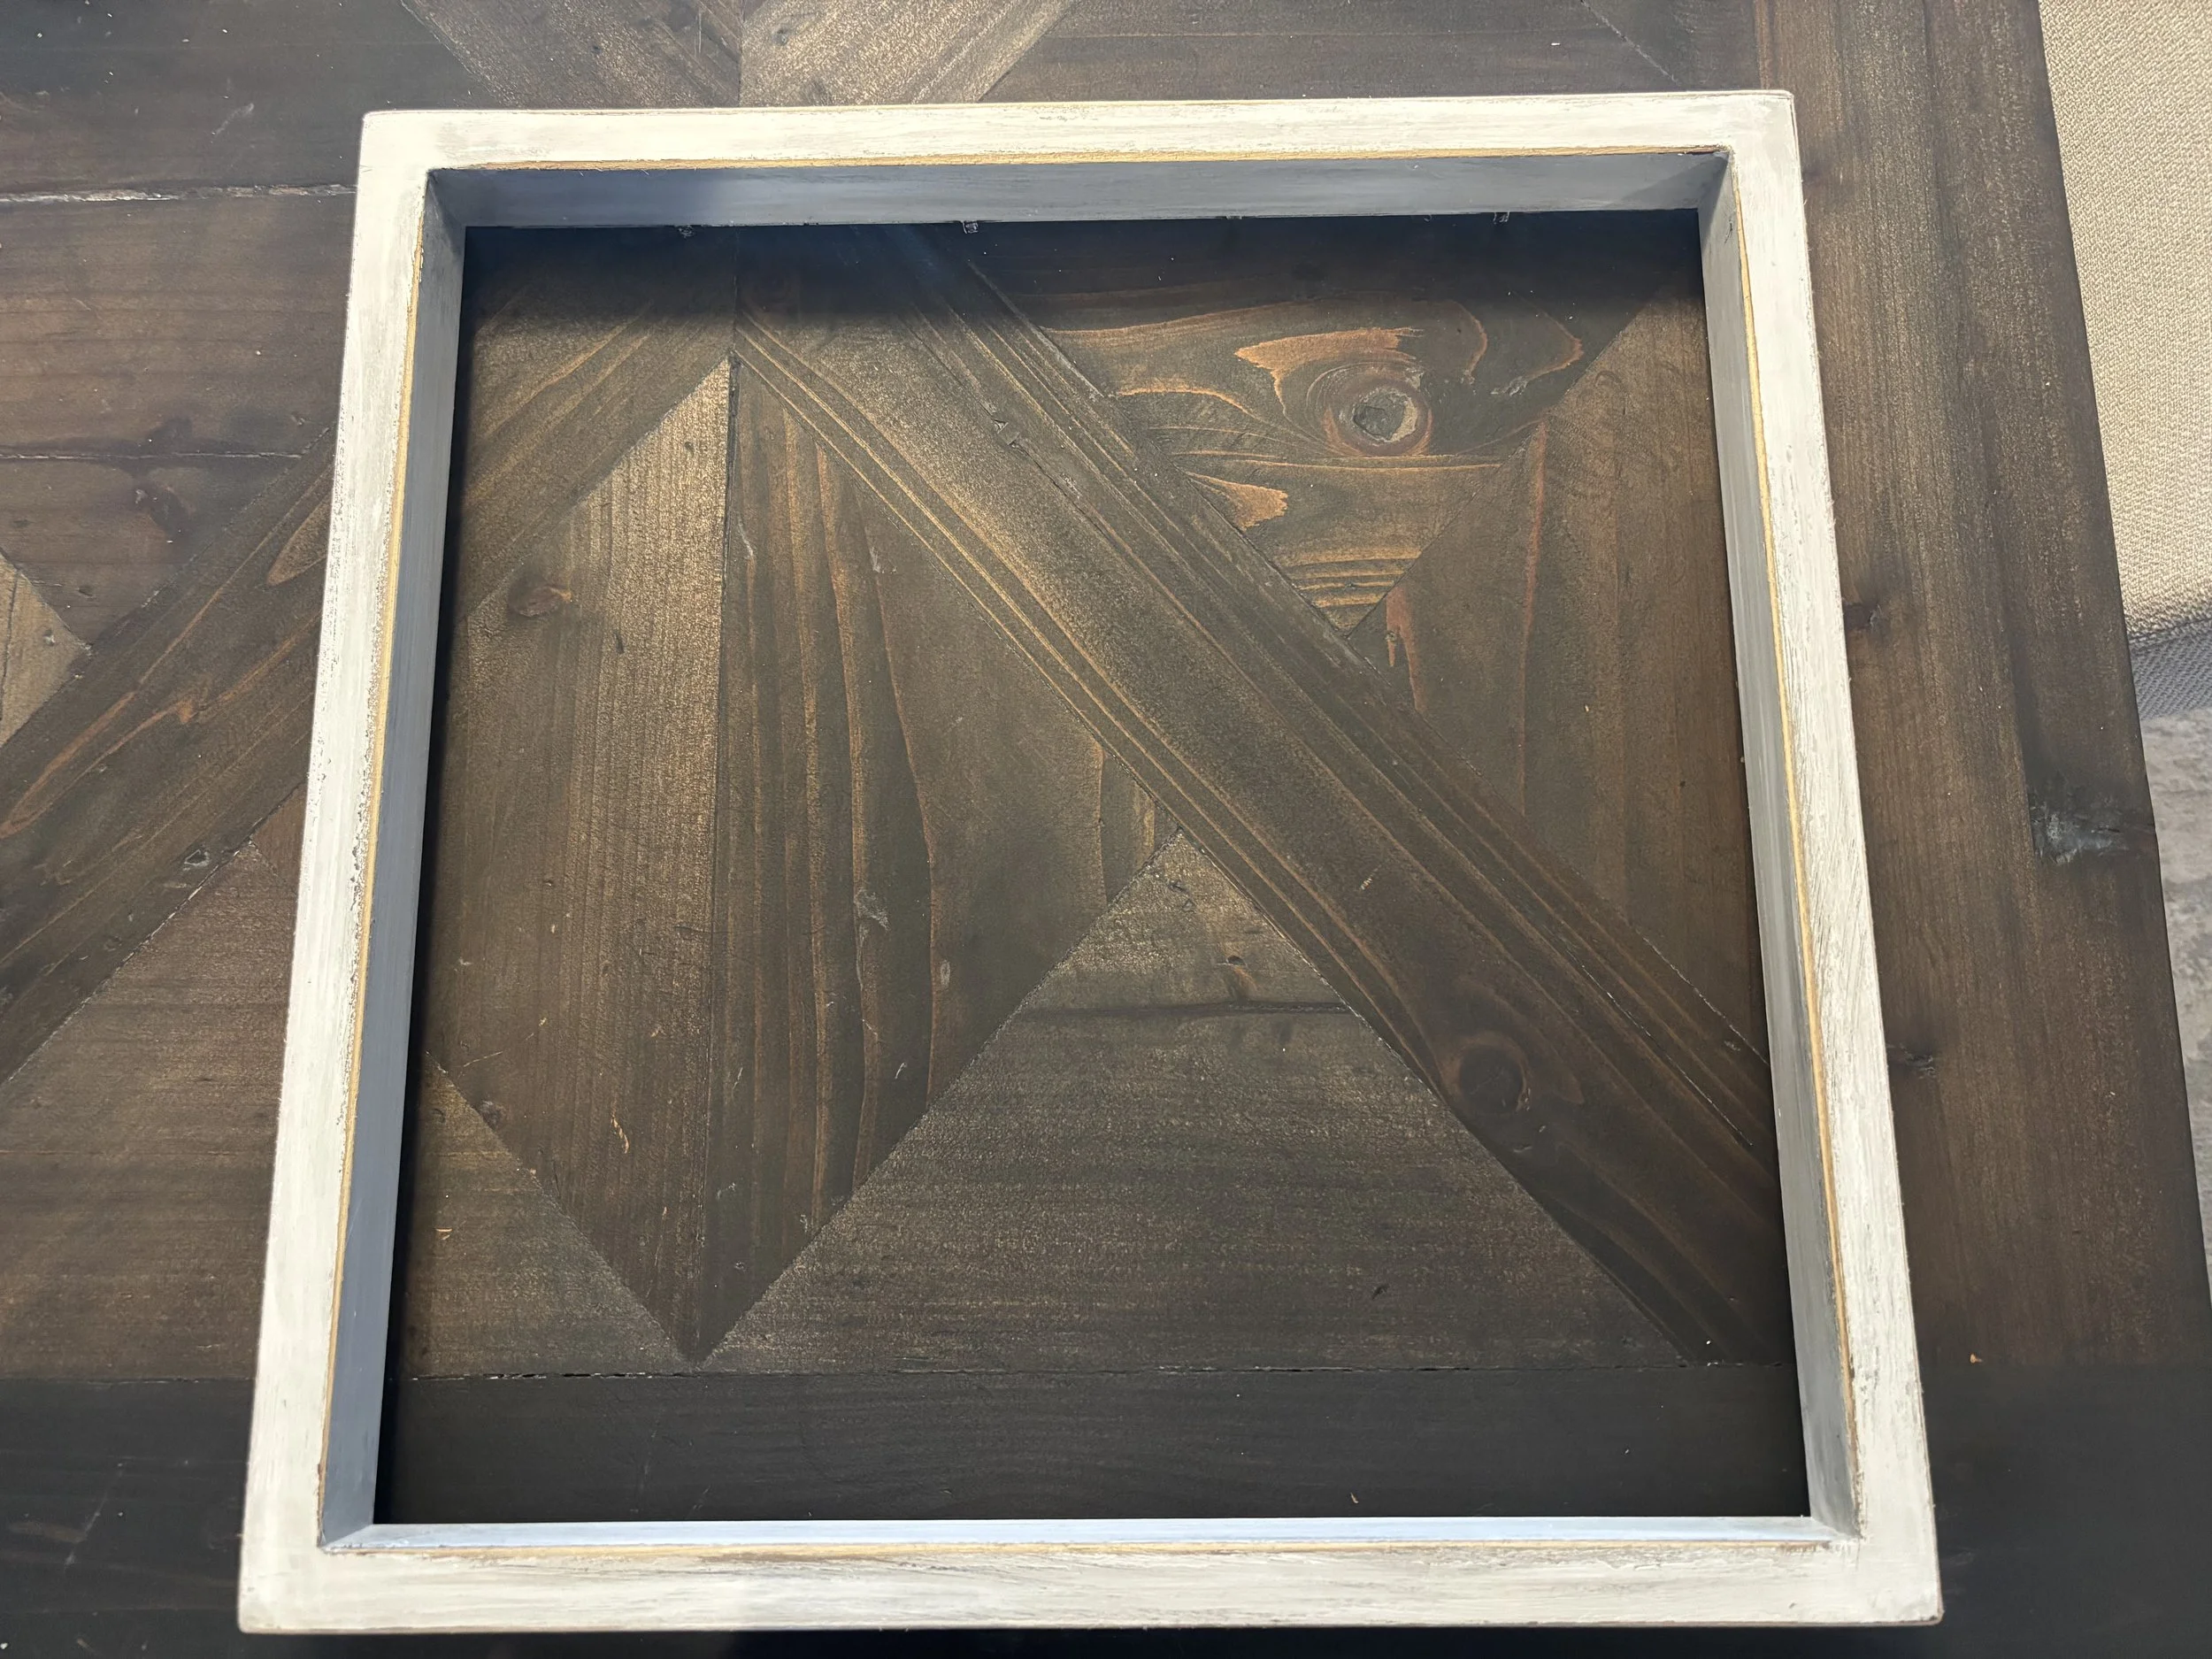
Instead of purchasing a specialty glaze, I reached for something I already had—an older can of stain. I brushed a small amount of stain onto the frame, then applied the chalk paint before the stain had dried. The two blended, creating a soft, aged finish with more depth than plain white paint on its own. Normally, when I distress a piece, I use several layers and sand in between them. This time, however, one coat was enough and it gave the frames a nice driftwood finish.
Once the finish dried, I added a few light touch-ups, pulling out a little more white in some areas and deepening the finish in others. Then I lightly sanded the edges and corners. Besides making the frames look more rustic, exposing those edges gave them added dimension.
The Project Had Other Ideas
My original plan was to create pressed botanical artwork. Then the project had opinions of its own.
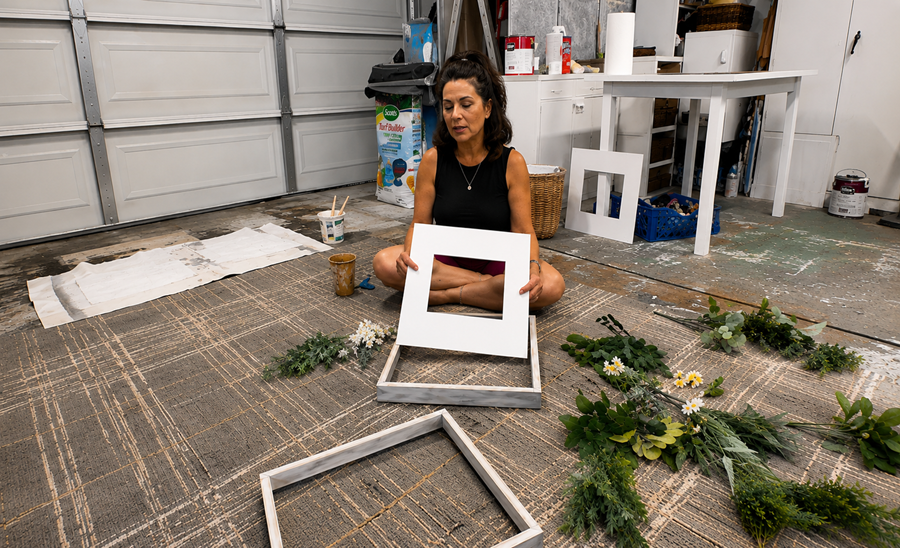
Once the frames were refinished, I started experimenting with the botanicals and quickly discovered a problem. The glass sat almost directly against the mat and backing board, leaving very little space between the layers. When I tried placing the greenery beneath the glass, it became flattened and distorted. The “pressed botanical” look turned out to be more pressed than I had in mind. Not the soft, natural look imagined.
I’ve learned that sometimes the materials are telling you to head in a different direction. So, I removed the glass and to create more dimensional artwork. I like the finished result much better.
Building the Artwork One Stem at a Time
All of the greenery came from Dollar Tree…very affordable. One quick trip later, and my cart looked like I had adopted half the faux greenery aisle.
Rather than trying to use the bunches as they came, I cut them with snippers. Separating the greenery into individual stems gave me more control. I could place one stem at a time and gradually build the shape I wanted.
Next, I had to mount the greenery somehow. Since the backing board was Masonite, I reached for one of my favorite garage tools—a staple gun. I’m fairly certain this isn’t what the frame manufacturer had in mind, but sometimes you have to improvise.
I positioned several larger anchor pieces, stapling them securely to the backing board. Those created the foundation for the design, and I continued building the layers.
I sprayed the area where I planned to place each new stem with spray adhesive and lightly sprayed the stem itself, then tucked it behind the mat or behind a piece that had already been stapled. The additional greenery added depth and movement while also helping conceal the staples. Being able to work with individual stems also made it easier to adjust the composition as I went. Eventually.
Let’s just say a few stems had to audition for the role before they made the final arrangement.
Adding the Finishing Touches
Once the greenery felt balanced, I added small white flower heads. I used the same basic technique, spraying the back of each flower and the area of greenery where I wanted to place it. Then I tucked the flower into the arrangement, held it briefly and allowed the adhesive to set.
After everything was assembled, I gave the pieces plenty of time to dry. So far, the staple-and-spray-adhesive combination has held up very well. I’ve moved the frames from garage to dining room and to family room, where they’ve been sitting on the mantel for several weeks. Nothing has fallen off, shifted or landed unexpectedly on the floor. For me, that feels like success.
Floral wire or fishing line could also work. I tend to become slightly tangled when working with either one, so the staple gun and spray adhesive were simplest for me.
When the Plan Changes, Let It
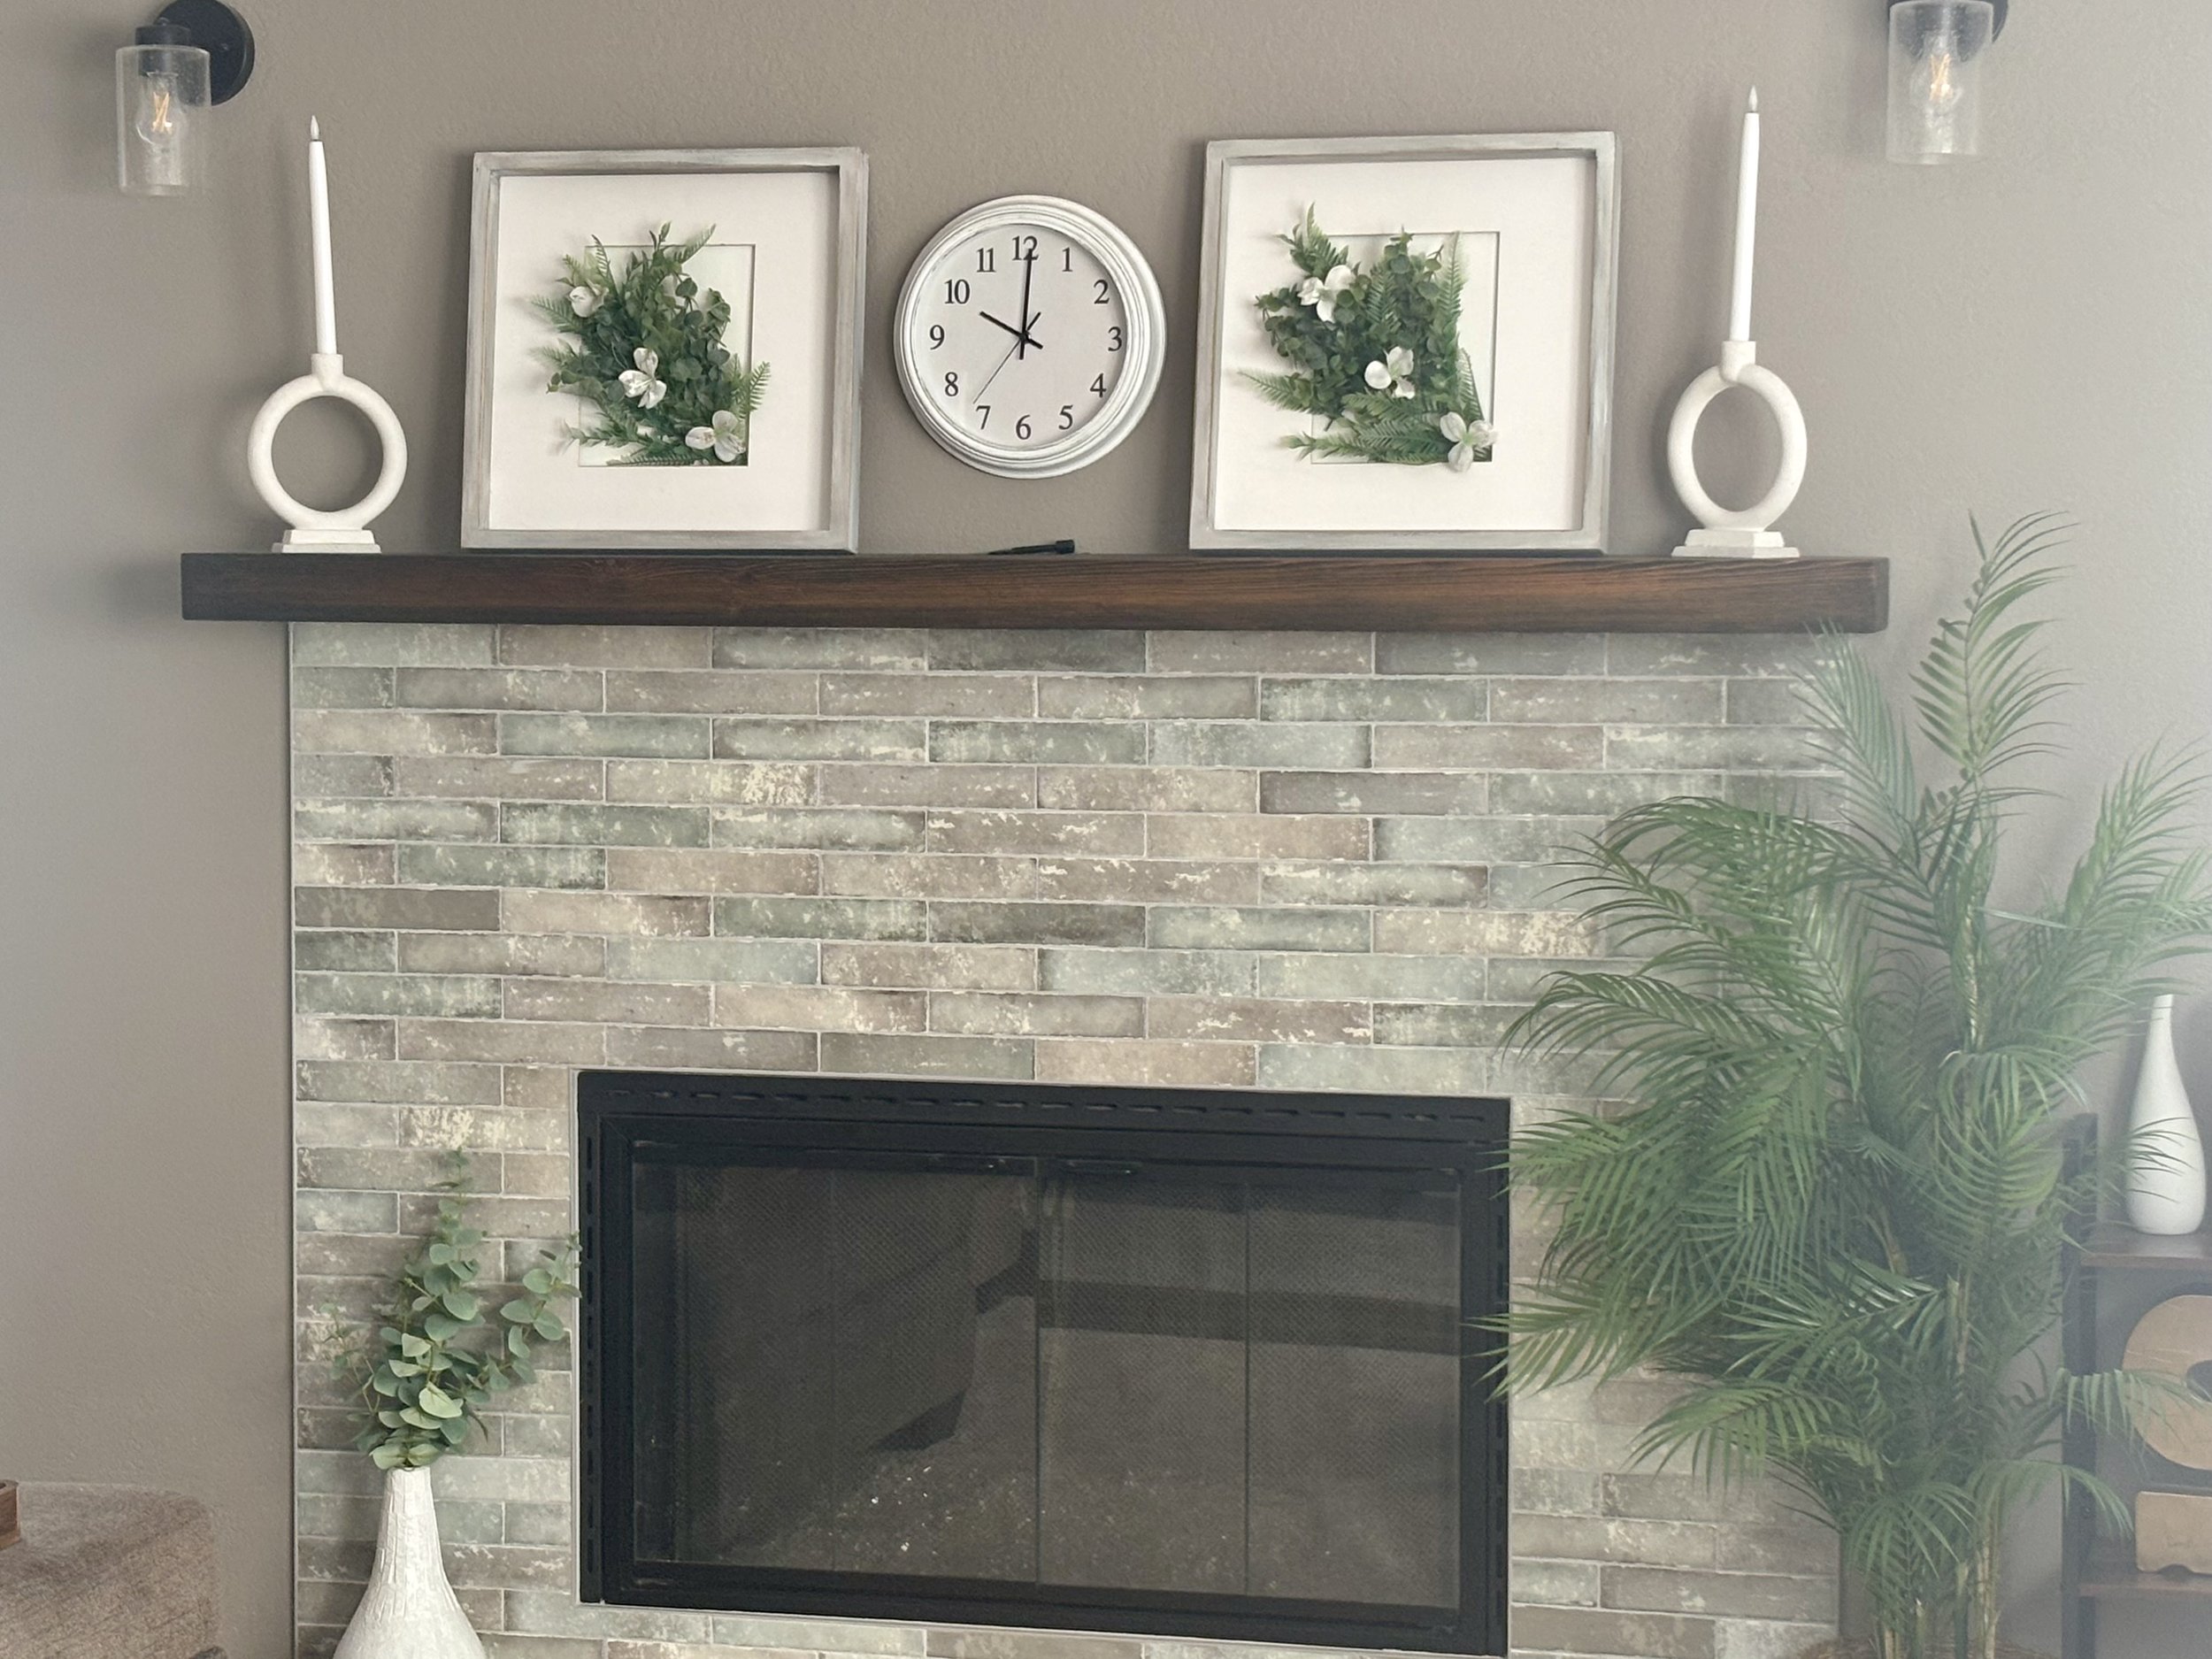
This project evolved a layer at a time. Finish on frames. Individual stems. Flowers. Hidden staples. Even the change from pressed artwork to dimensional artwork became part of the finished design.
Rarely do my projects turn out exactly the way I imagine they will when I first bring something home. More often, they develop as I work, and I make decisions based on what the piece seems to need. I’ve learned not to fight that process. Those unexpected changes can take a project from fine to something you truly love.
Final Thoughts
One of my favorite things about creating my own décor is that it doesn’t have to begin with expensive materials or a perfectly formed plan. It can begin with two outdated thrift store frames, spare materials, and a willingness to change direction when the first idea doesn’t work.
Decorating isn’t always about buying something beautiful. It can be about assembling beautiful pieces into something uniquely yours.
Now, what will you do next to love where you live?
Be sure to visit The Redesign Habit to share your redesign stories or reach out with your questions. We’d love to hear what you’re working on.
For more great stories and ideas please follow us on Facebook, Instagram, and subscribe to our YouTube Channel