Some people have a soft spot for stray animals. Apparently, I have a soft spot for stray home decor. Over the years, I've become the unofficial rescue shelter for unwanted home accessories and furniture. Friends, family, and occasionally complete strangers have contributed to my growing collection of things that just need a little love. And let's not forget Facebook Marketplace, where the word FREE has been known to get my attention.
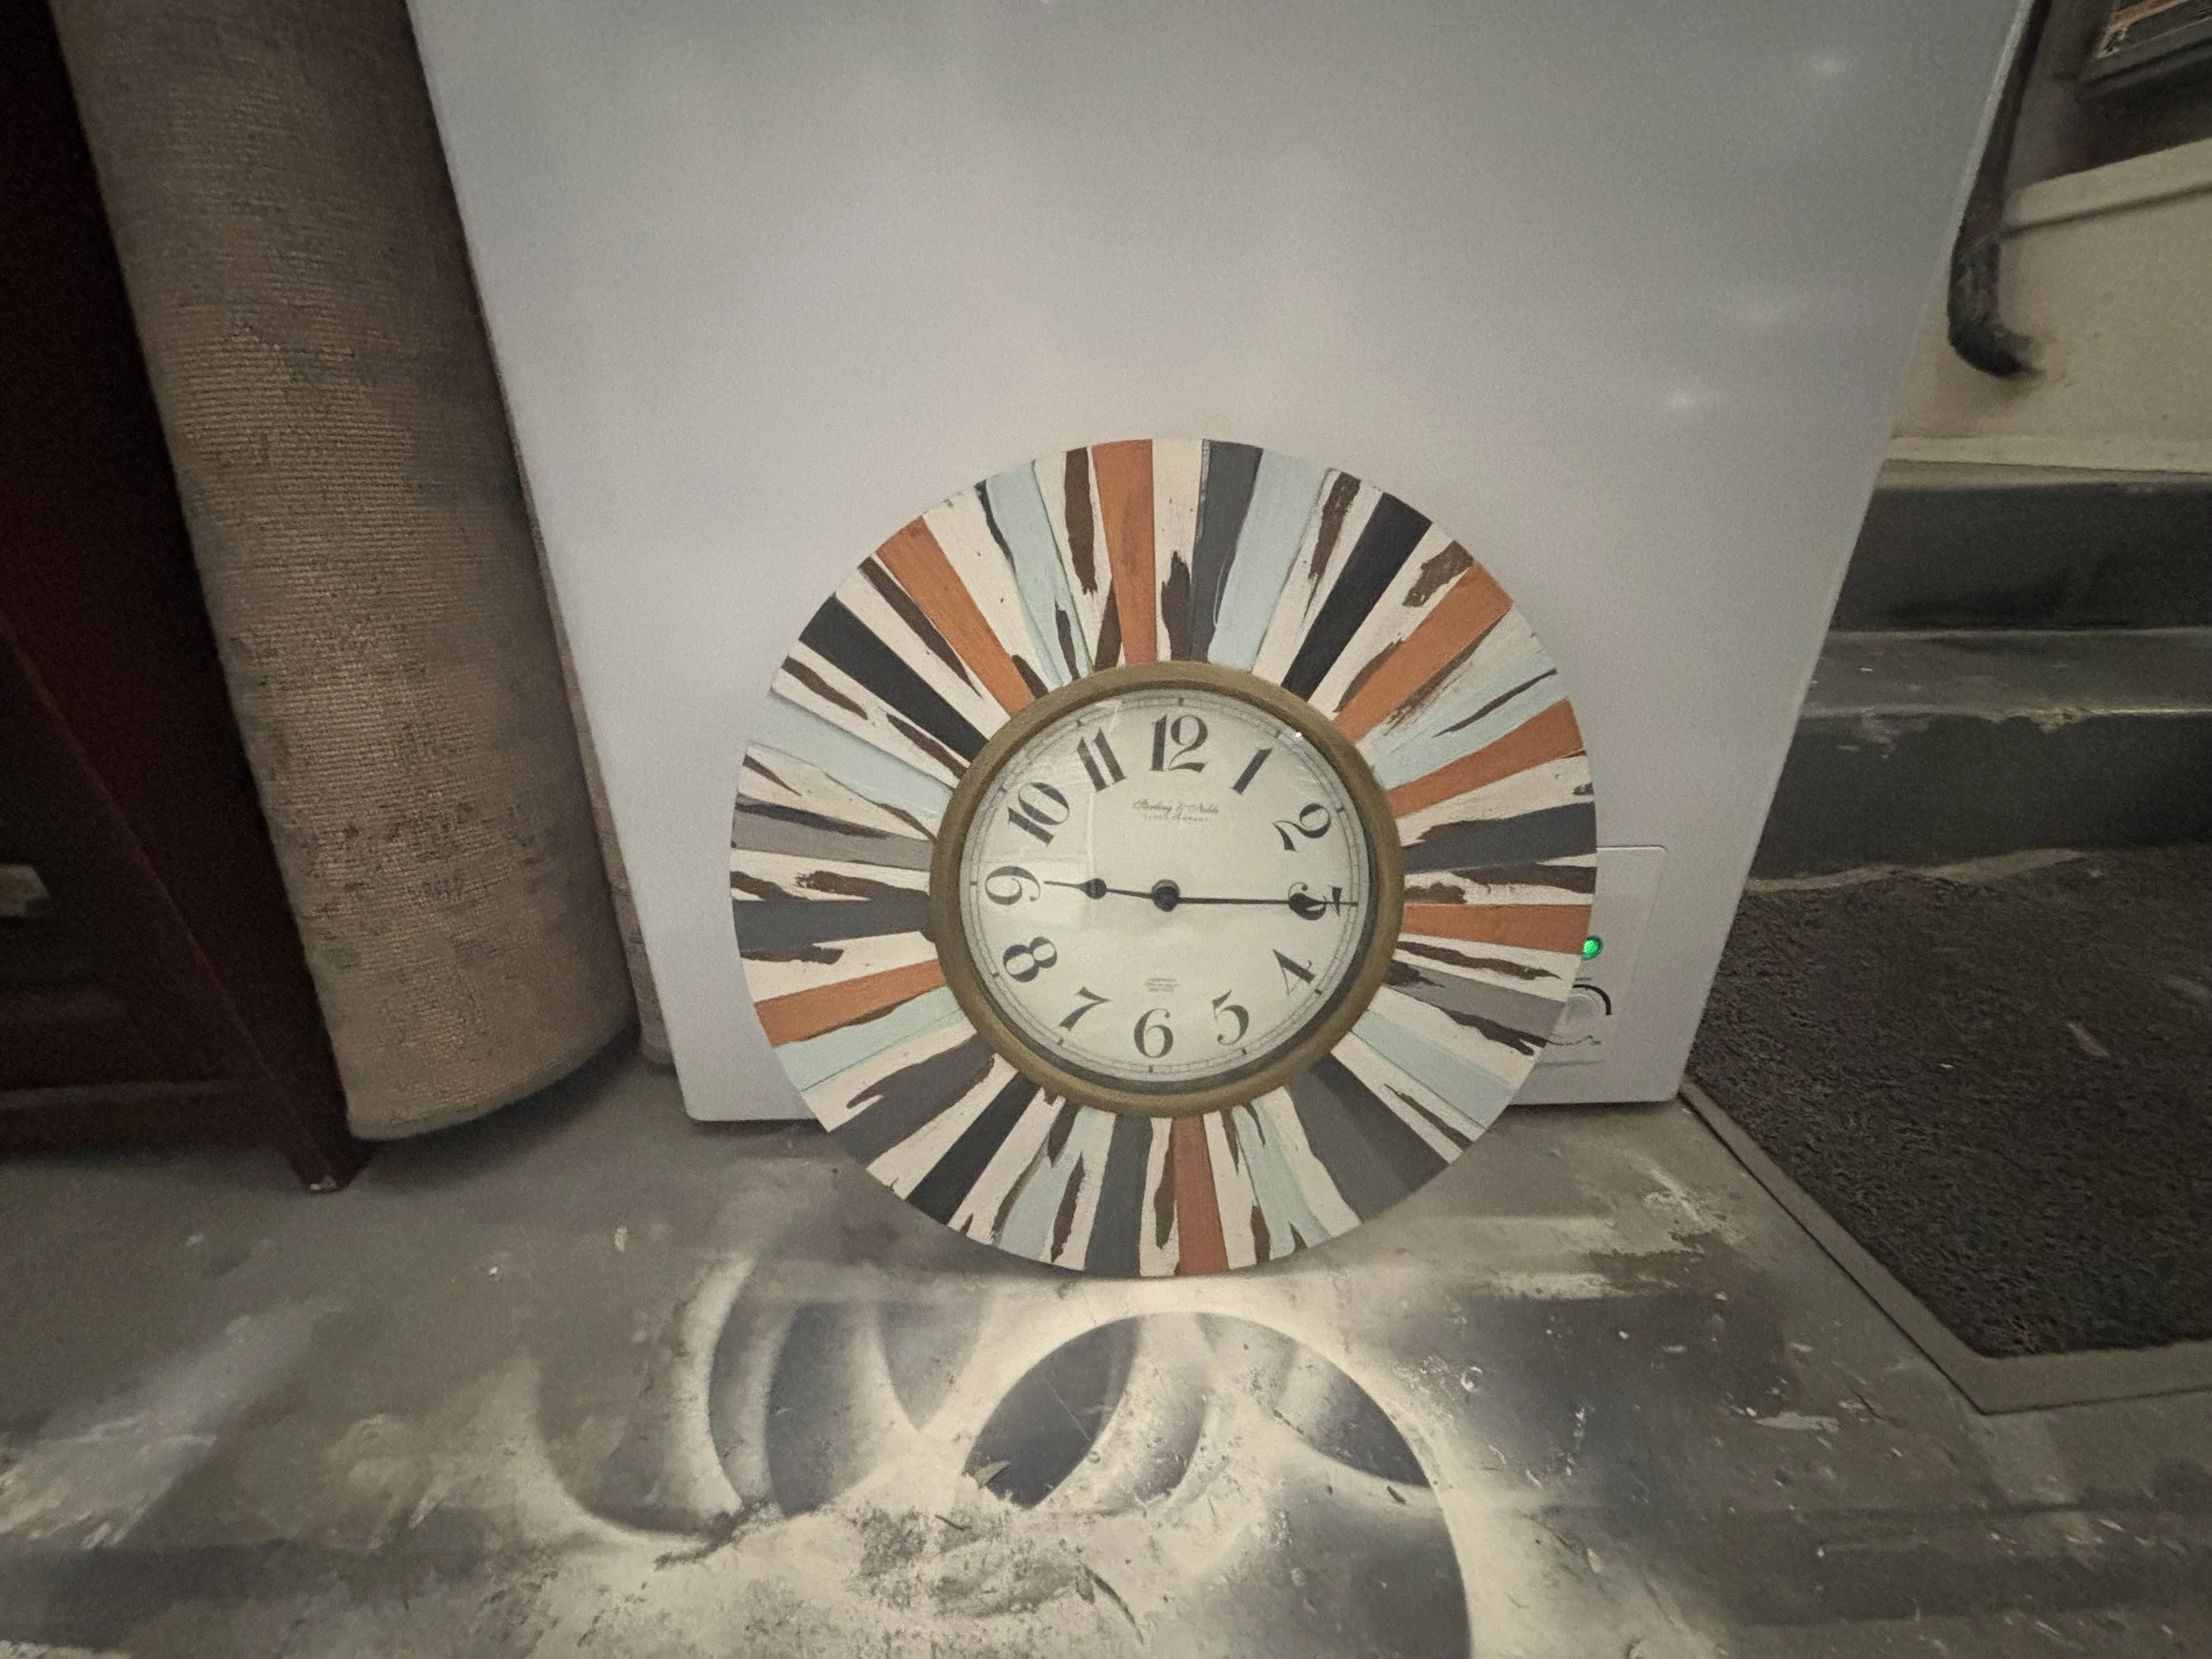
Recently, a good friend was doing some decluttering and came across an old clock and a picture frame she no longer wanted. Rather than sending them off to the donation center, she thought of me. Of course she did.
The clock, an interesting combination of colorful wooden pieces surrounding a traditional bronze-gold clockface, certainly had personality. Perhaps a little more personality than I was looking for. But I loved its unusual construction, and I could see the potential hiding beneath all that color.
Naturally, I brought it home. Another successful adoption.
A Little Paint, a Little Sandpaper, a Lot of Possibility
One of the best things about this makeover was what I DIDN'T have to do. No stripping! The clock already had a painted finish that was in good condition, so I was able to paint directly over it with a muted olive green.
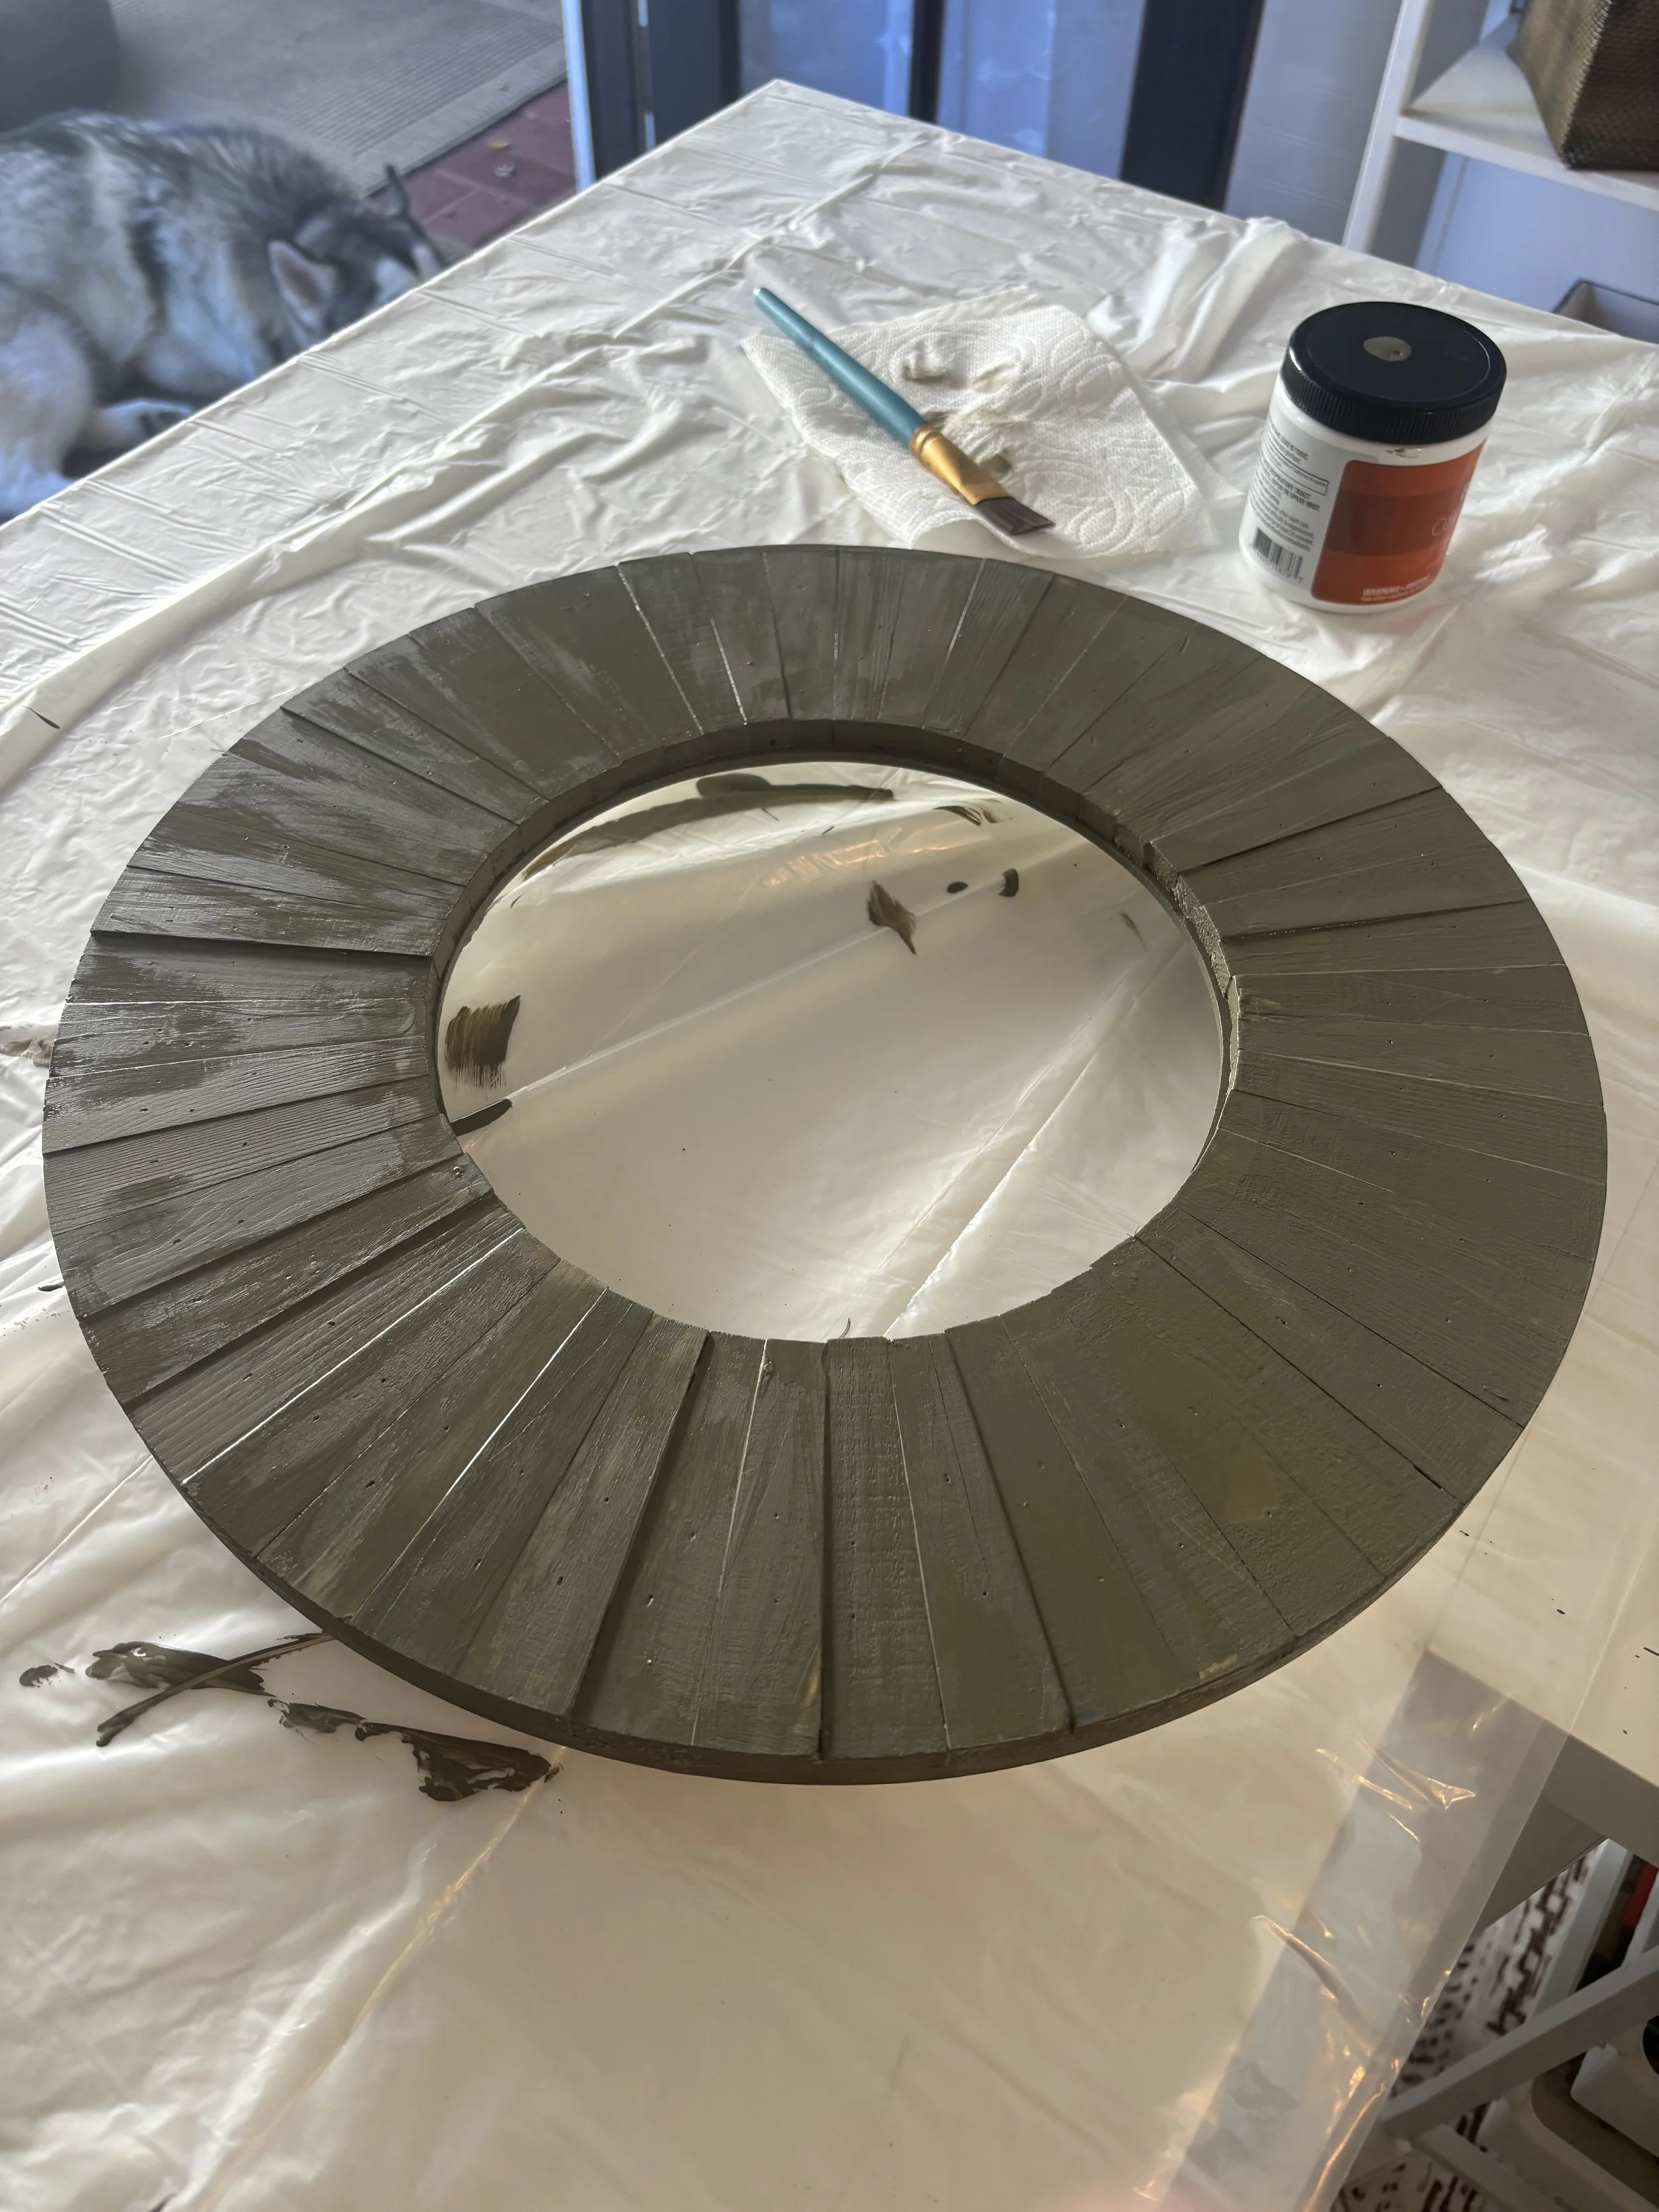
A word of caution. If you're working with something with peeling, flaking, or bubbling paint, you'll need to deal with that first. Sanding away the loose paint and smoothing out any uneven areas will give you a much better surface to work with. Painting over a failing finish doesn't fix the problem, it just gives you a brand-new coat of paint that's likely to fail along with it.
My goal wasn't to make the clock look brand-new. Quite the opposite. I wanted a weathered, natural appearance with plenty of texture and character.
Once the paint dried, I started sanding away some of the finish to reveal hints of the colors underneath. And that's when I discovered…bright green paint. Apparently, this wasn't the clock's first makeover. Judging by the layers of paint, she'd been living under several different identities. I was beginning to wonder whether I'd accidentally adopted a clock from the Witness Protection Program.
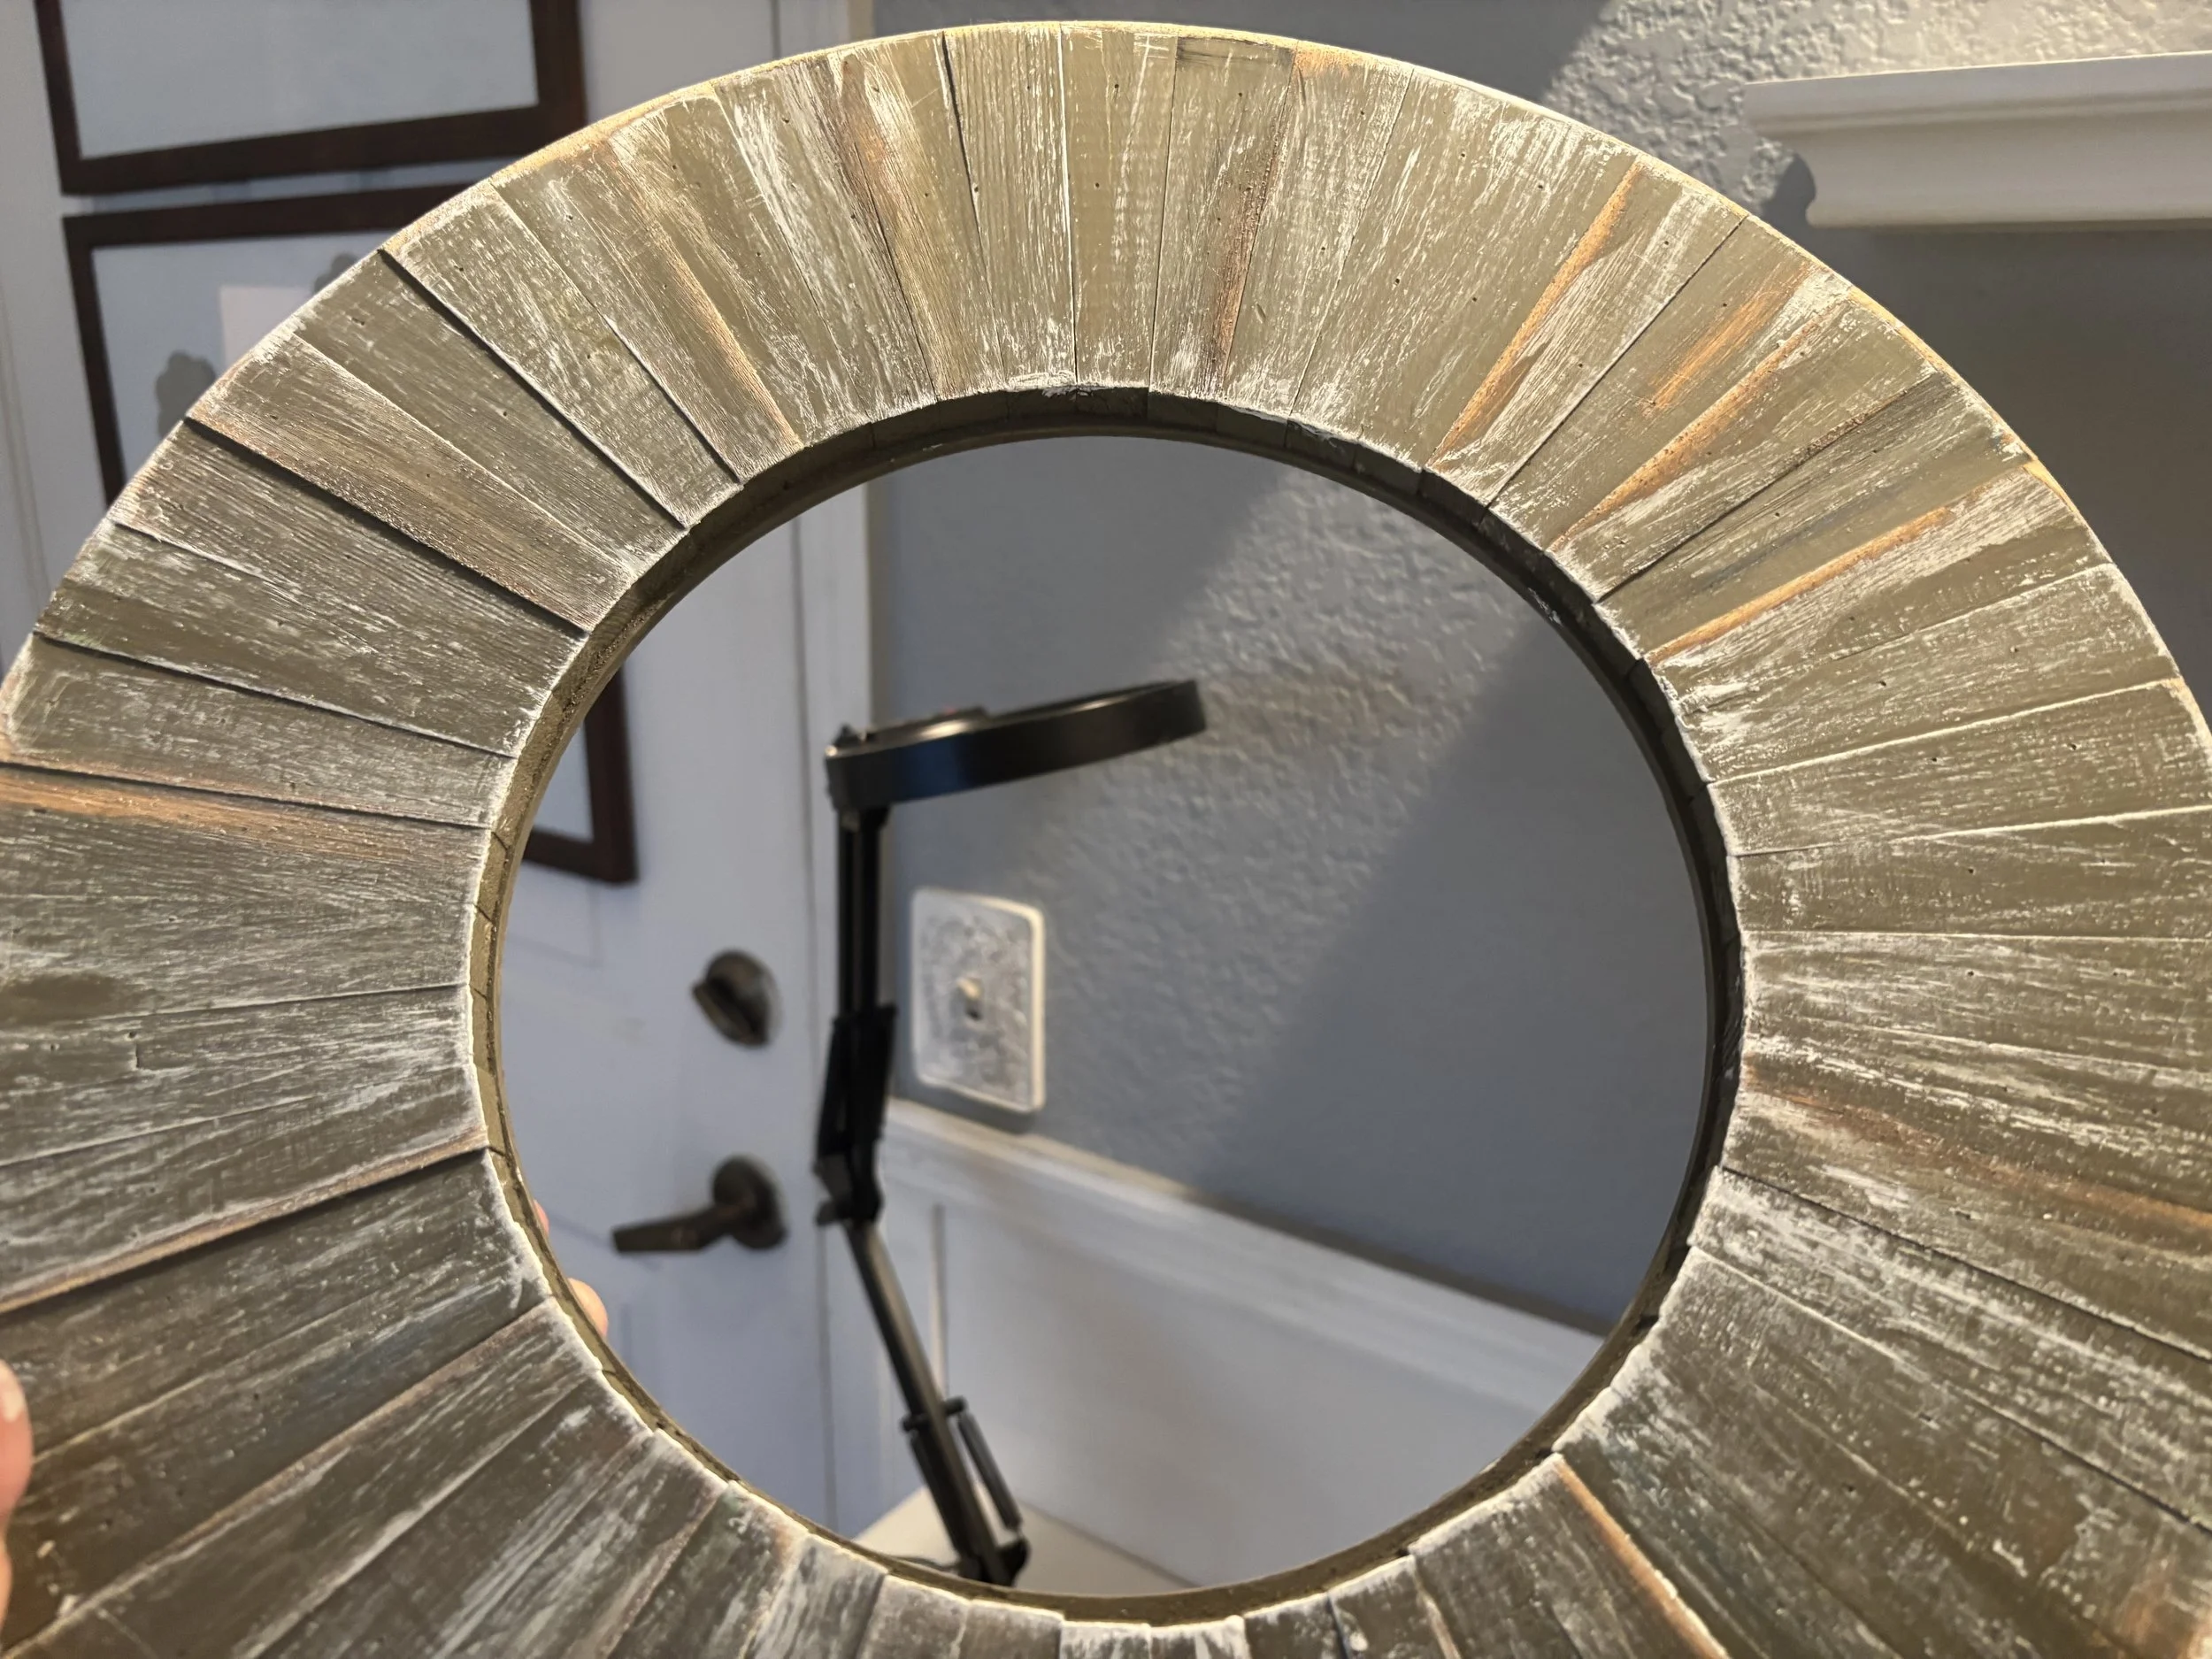
After sanding, I added a little white dry brushing to emphasize the wood grain and soften the overall appearance. The combination of colors and texture gave the surround a quasi-petrified wood look--exactly the direction I wanted.
And the best part? No stripping, no complicated techniques, and no need to erase all those previous makeovers. A little of the clock's history actually helped create its newest look.
Knowing When to Stop
Of course, no DIY project would be complete without that familiar question: Should I do just one more thing?
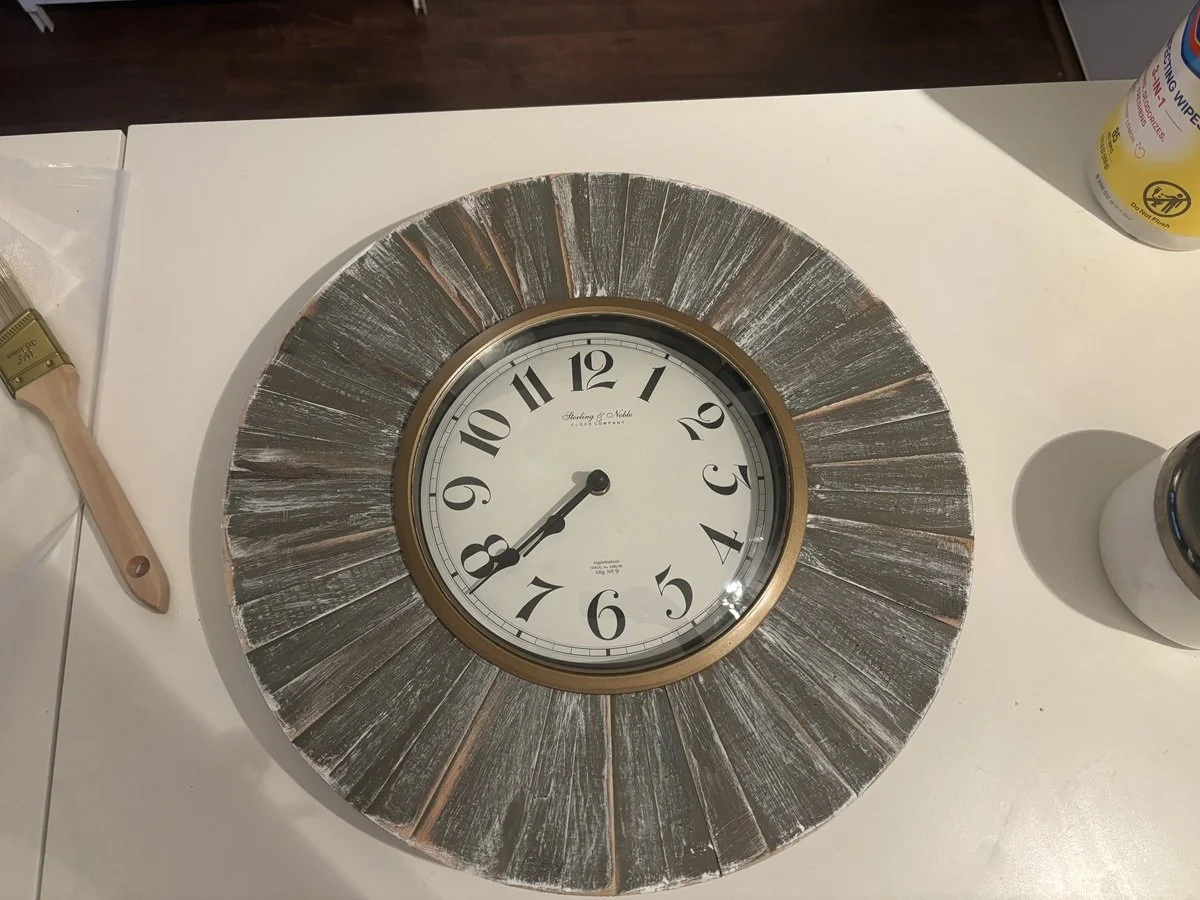
I considered adding dark stain around the outside edge to create more depth. Just a whisper. But anyone who's ever tackled a makeover knows one tiny finishing touch can occasionally turn into three more hours of trying to undo that finishing touch.
Ultimately, I decided to assemble the clock, hang it up, and see what I thought. I loved it. No additional stain. No more sanding. No more tinkering. Sometimes the hardest part of a DIY project is knowing when to put the brush down.
A Whole New Look
The finished clock now hangs in my craft room, where its weathered wooden surround looks right at home with the natural textures and accessories around it.
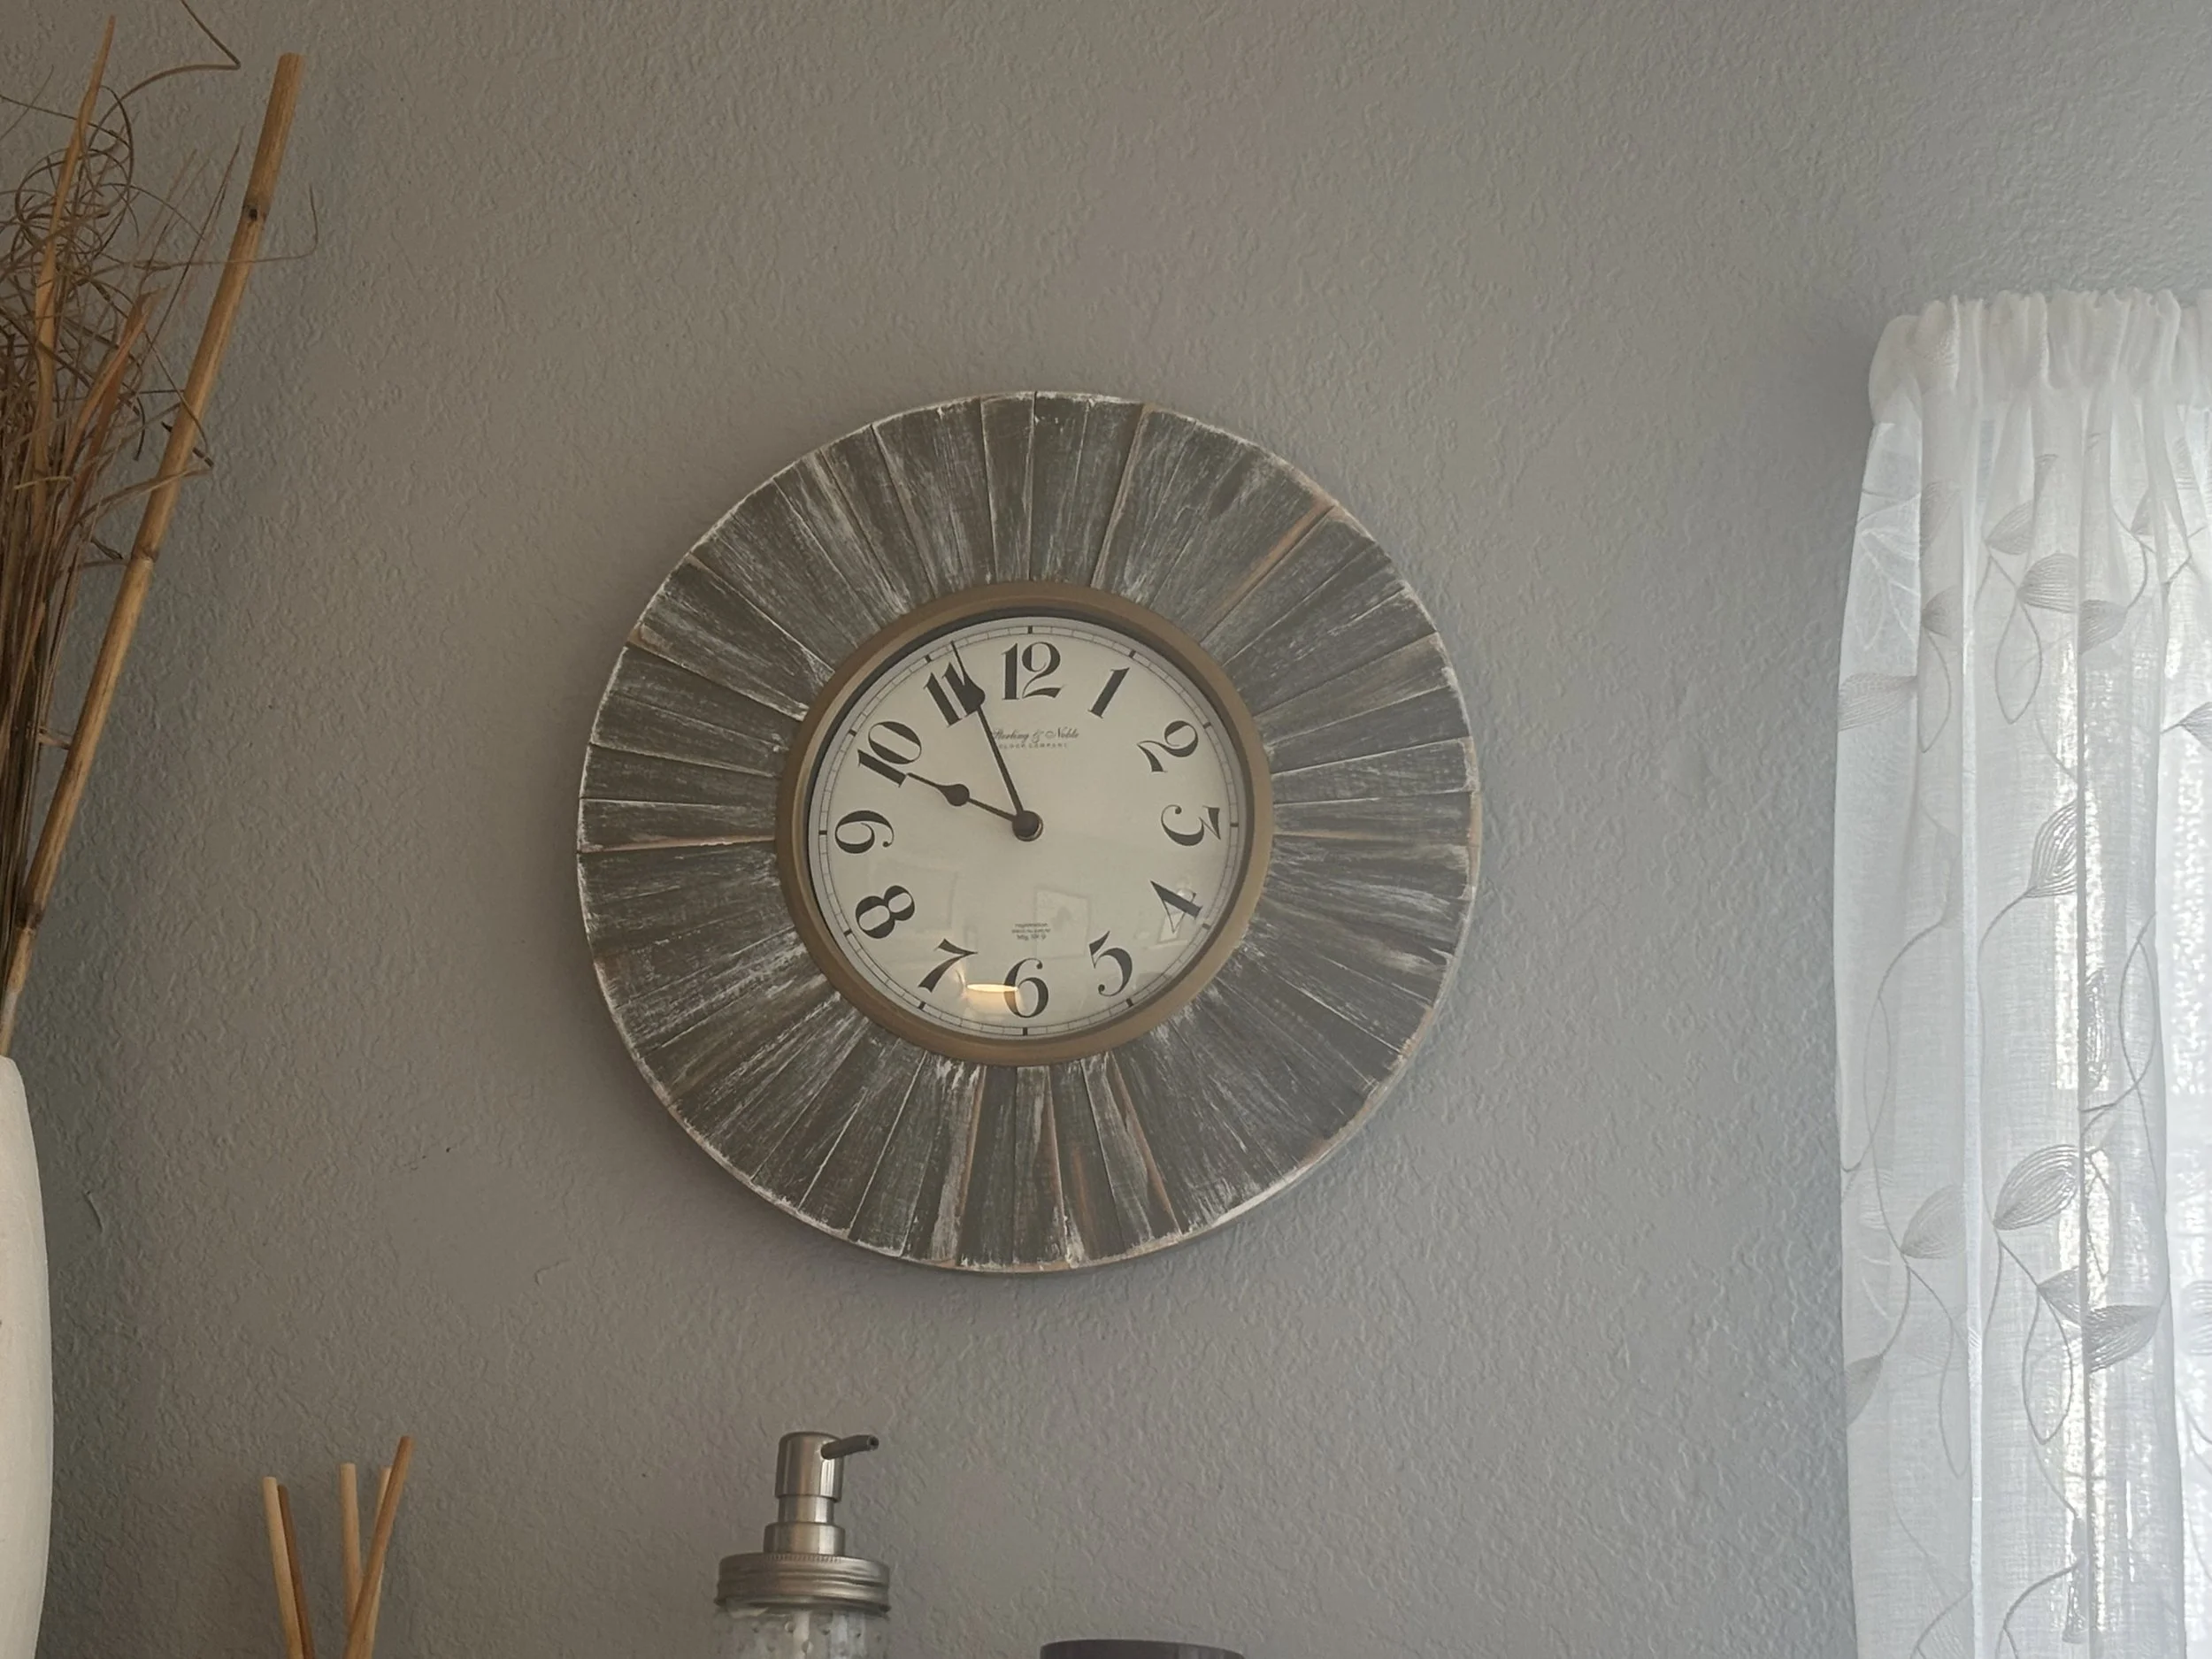
What I love most is the contrast between the rustic outer frame and the traditional bronze-gold clockface. The different styles work beautifully together.
I’m declaring another win for redesign! You often don't need something new. Just look at what you already have and imagine what it could be.
Bonus: the clock actually works, which means I have one less excuse for being late with Maggie and Simon's dinner. Not that they'd ever let me forget.
Now, what will you do next to love where you live?
Want to See the Transformation?
If you'd like to see how this clock went from colorful to weathered, check out the makeover video below. You'll see the techniques I used to create the finish, along with the final result.
Be sure to visit The Redesign Habit to share your redesign stories or reach out with your questions. We’d love to hear what you’re working on.
For more great stories and ideas please follow us on Facebook, Instagram, and subscribe to our YouTube Channel.