
From $10 Goodwill Find to One-of-a-Kind Wooden Tray
Certain things I simply cannot leave behind at Goodwill. Apparently, a giant solid-wood tray with a scratched-up finish and space-age chrome handles is one of them.
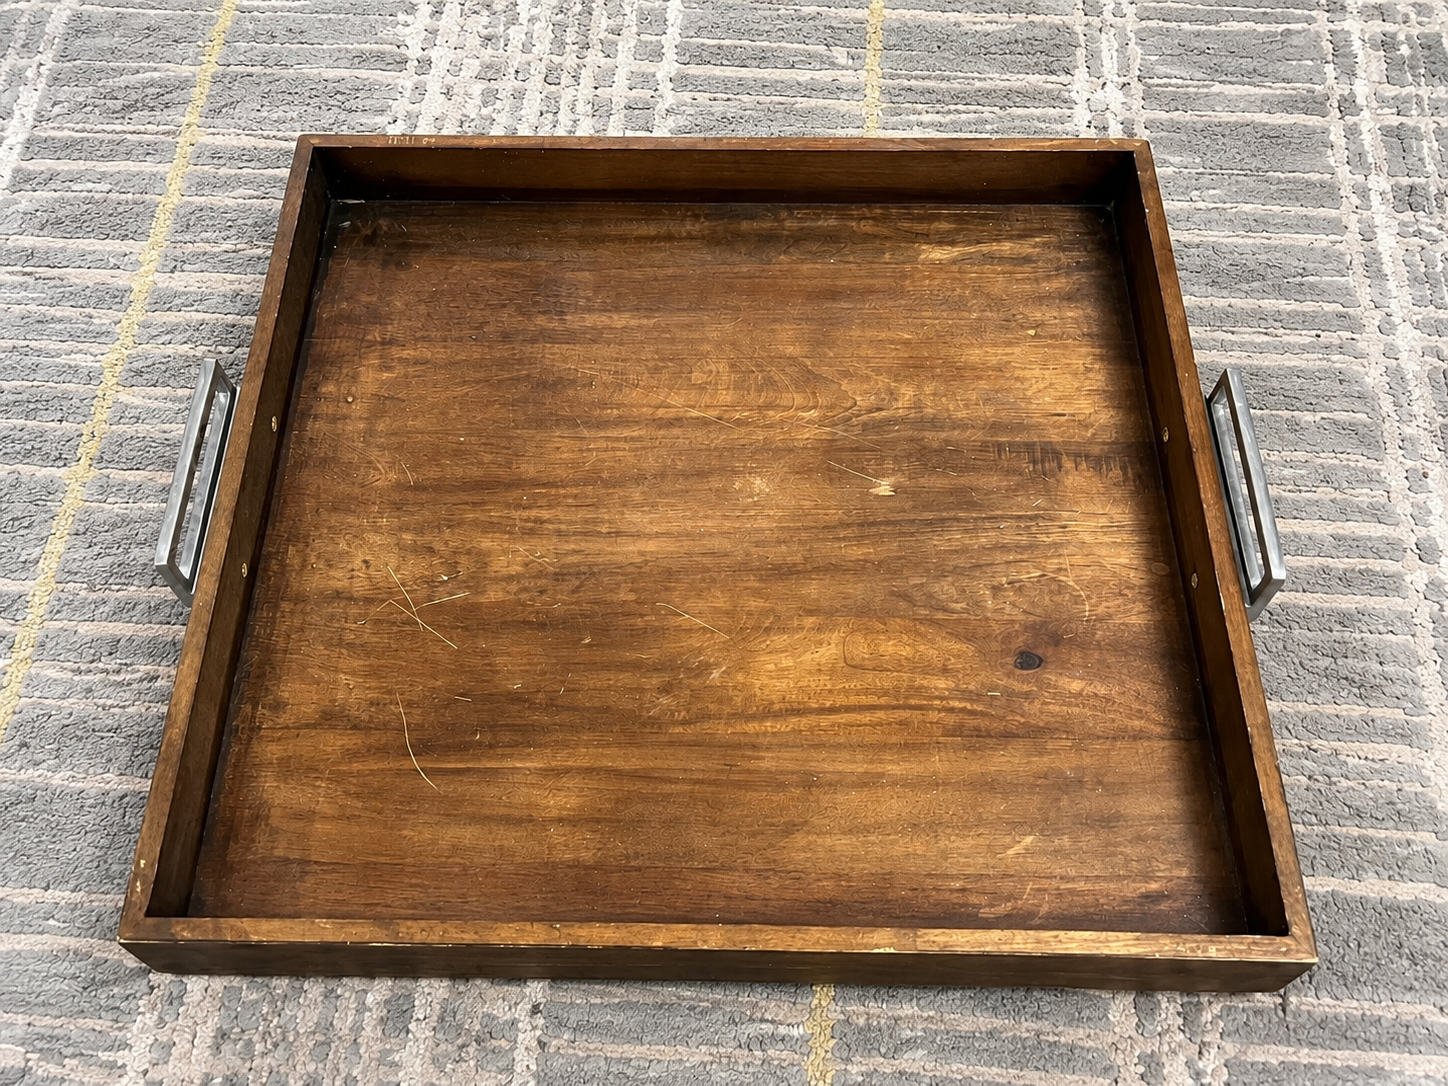
But in my defense…it was $10.
And underneath that tired finish was a 24" × 24" solid-wood tray. This thing was substantial. If you've ever shopped for an oversized solid-wood tray, you already know they don't usually come with a ten-dollar price tag. The tray itself was in good shape. It just needed someone to look past the scratches, the marred finish, and those handles that appeared ready to launch into orbit. Naturally, it came home with me. Leaving a two-foot-square solid-wood tray at Goodwill for ten bucks would have required a level of self-control I simply do not possess.
And then…
It sat in my workshop for four months.
Sometimes the Plan Is…There Is No Plan
I wish I could tell you I spotted that tray and immediately had a brilliant vision for exactly what it could become. Nope. I knew it had potential. I knew it was well made. And I knew ten dollars for a big solid-wood tray was too good to pass up. What I didn't know was what I wanted to do with it. Sometimes you recognize potential first and figure out the rest later.
After mulling it over for four months, I decided to keep things simple - sand off the old finish, apply fresh stain, replace the handles and call it done. That was the plan. If you've done many DIY projects, you're probably already laughing.
First, Let's See What We've Got
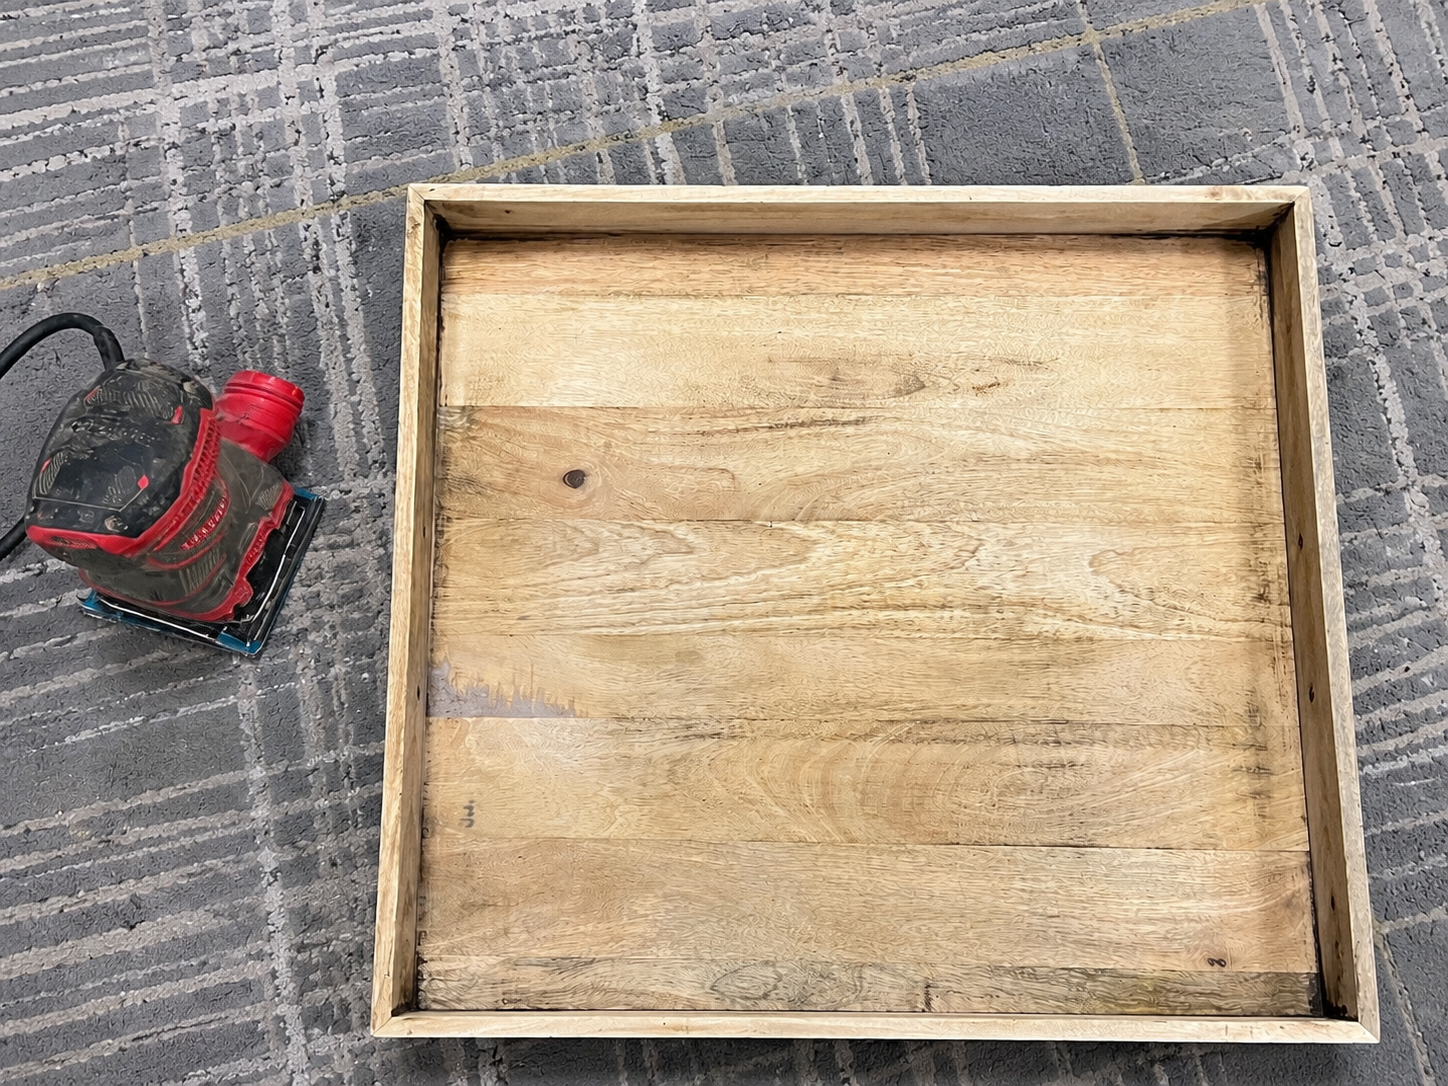
I removed the handles and started sanding away the old dark, marred finish. This is one of my favorite parts of working with older wood pieces because you never quite know what's hiding underneath. That tired finish started disappearing, revealing lovely natural wood grain. My $10 tray was looking pretty darn promising.
After sanding, I applied a walnut-toned stain. I knew the tray would sit on my dark brown leather ottoman, and I liked the warmth of the walnut with the leather. When the stain dried, I admired it. It was nice. Perfectly respectable. Also a little…blah.
Sometimes You Have to Undo What You Just Did
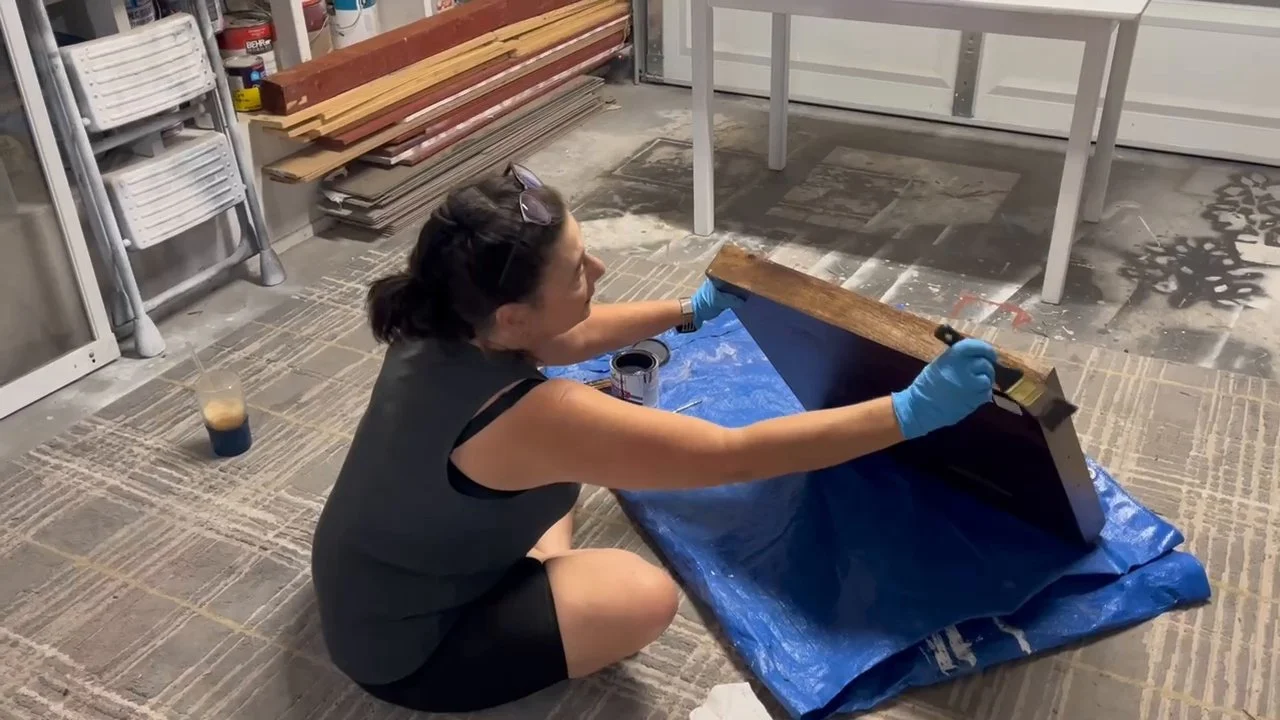
Rather than immediately adding something else, I decided to remove some of the finish I'd just put on. Welcome to DIY.
I lightly sanded the entire tray, intentionally removing some new stain. I wanted variation in the finish so more of that beautiful natural wood grain could come through. That small step made a big difference. The tray suddenly had more depth and character. That was a good reminder that finishing a step doesn't mean you're married to it.
Sometimes the best part of a project comes right after, "Hmm. I don't love that."
The Tray Still Needed Something
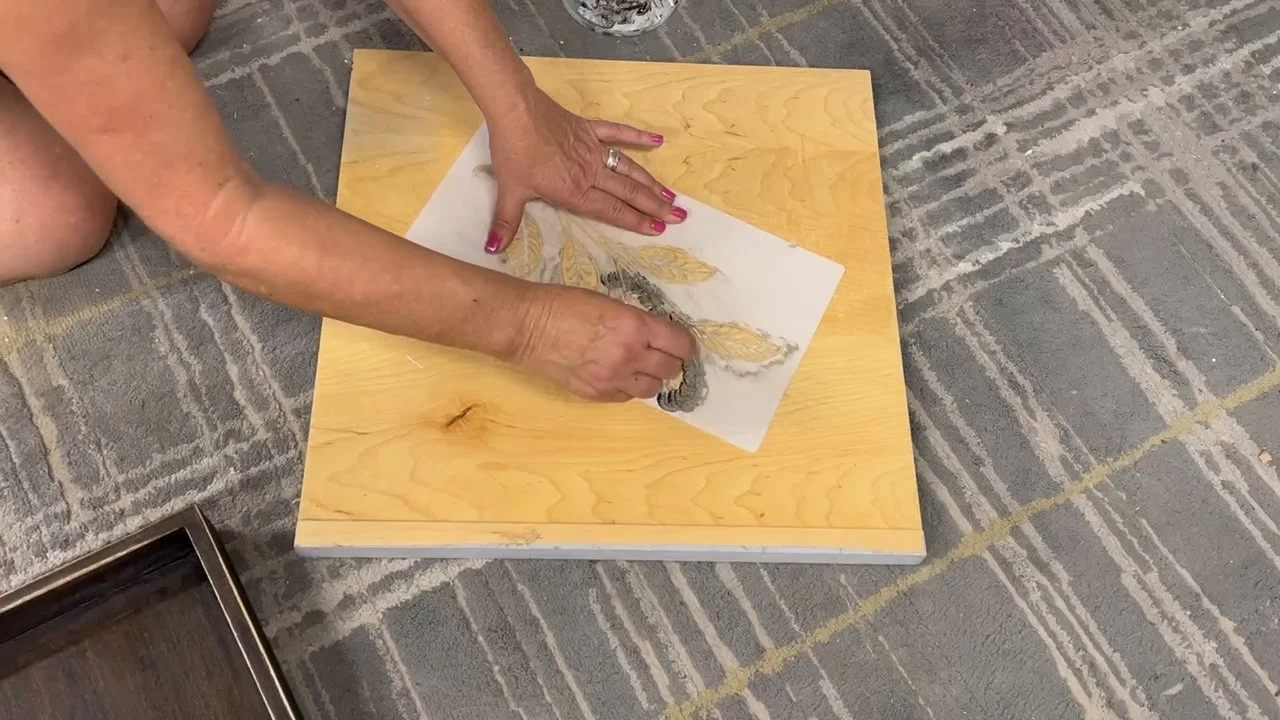
Staining part 2 helped, but I still felt the tray needed more personality. That's when I decided to add the stencil. I didn't want anything overly decorative, and I definitely didn't want a crisp, perfect design. I wanted the stencil to feel aged, like an original design worn with time. So the goal was imperfection rather than perfection.
Sometimes the thing we're normally trying so hard to avoid in a DIY project is exactly the thing that makes it work.
Distressing—with Purpose
Once the stencil was dry, I lightly distressed the edges of the tray. Not simply because I wanted it to look older. Since the finished tray was going to live on my large dark brown leather ottoman, I was afraid too much dark brown would simply blend together. One big brown object disappearing into another wasn't the design statement I was going for.
By distressing the edges, I exposed enough lighter wood to create contrast and definition. It gave the tray dimension and helped separate it visually from the ottoman underneath. It's a small detail, but a good example of why it's important to think not only about the piece you're working on, but where that piece will be placed.
And Then Those Handles
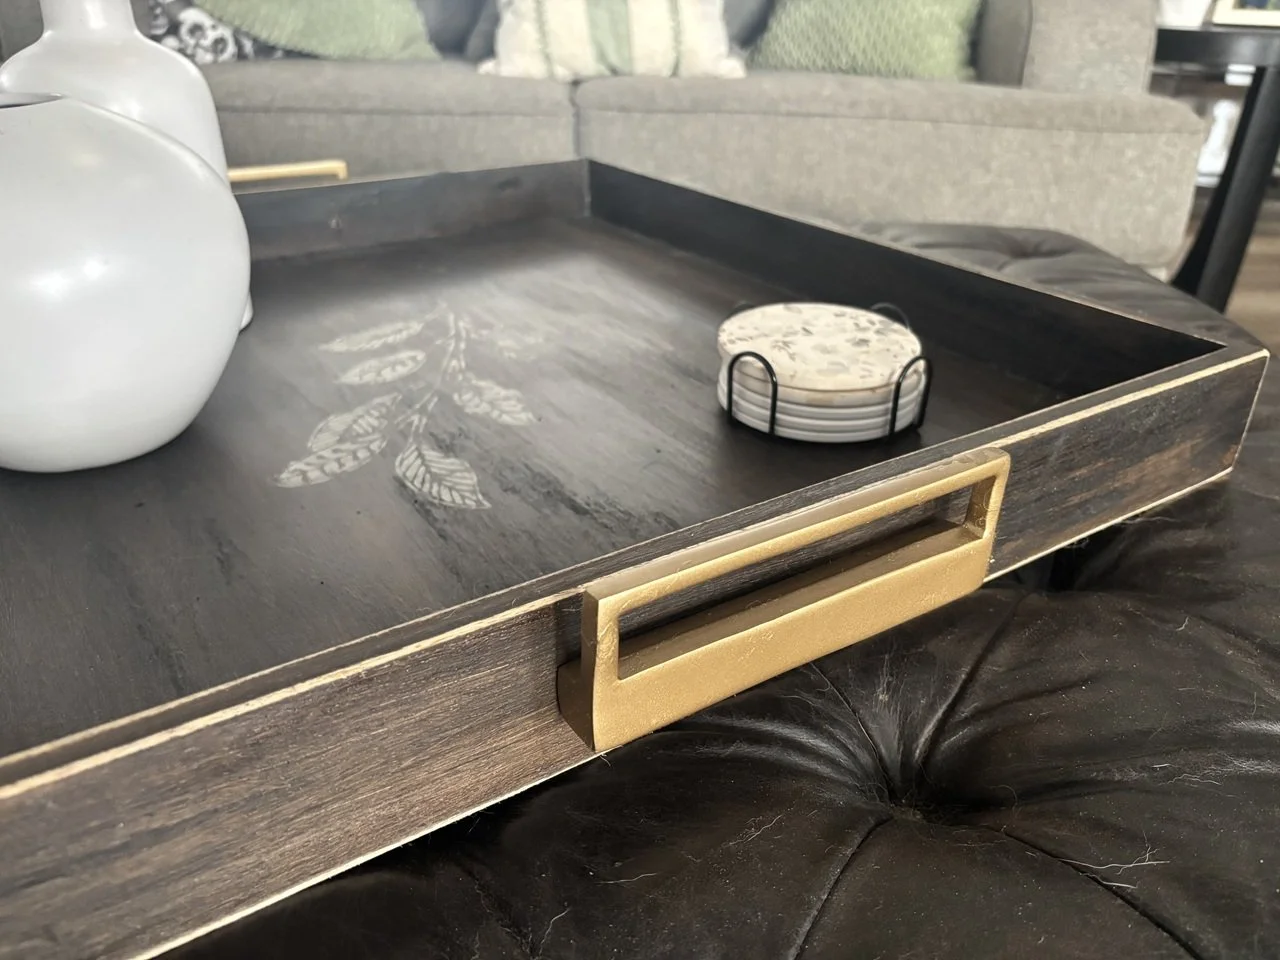
Remember those space-age chrome handles? My original thought was to replace them. They looked dated, and chrome definitely wasn't where I wanted to go with this makeover. But the more I looked at them, the more I realized there was absolutely nothing wrong with the handles themselves. They were substantial, sturdy, and nice sized for such a large tray.
The problem wasn't the handles. It was the finish. And replacing perfectly good hardware simply because I didn't like its color seemed silly.
So…drumroll, please…I reached for my burnished gold spray paint. I know. Shocking.
A few coats completely transformed them. Suddenly, the same hardware that looked dated and mismatched worked beautifully with the warm wood and aged stencil. No new handles required.
Protecting the Finish
Once I was happy with the stain, the softened wood finish, the stencil, and the distressed edges, I sealed the entire tray with liquid beeswax. The beeswax helped protect both the wood and the stenciled design while giving everything a soft, finished appearance. It created a slightly aged look I wanted. Time to reattach my formerly-space-age-now-burnished-gold handles, and…Ta-da! My $10 Goodwill tray is ready for its second act.
The Project I Didn't Plan
I love the way this project evolved. One decision at a time led to a wonderful result.
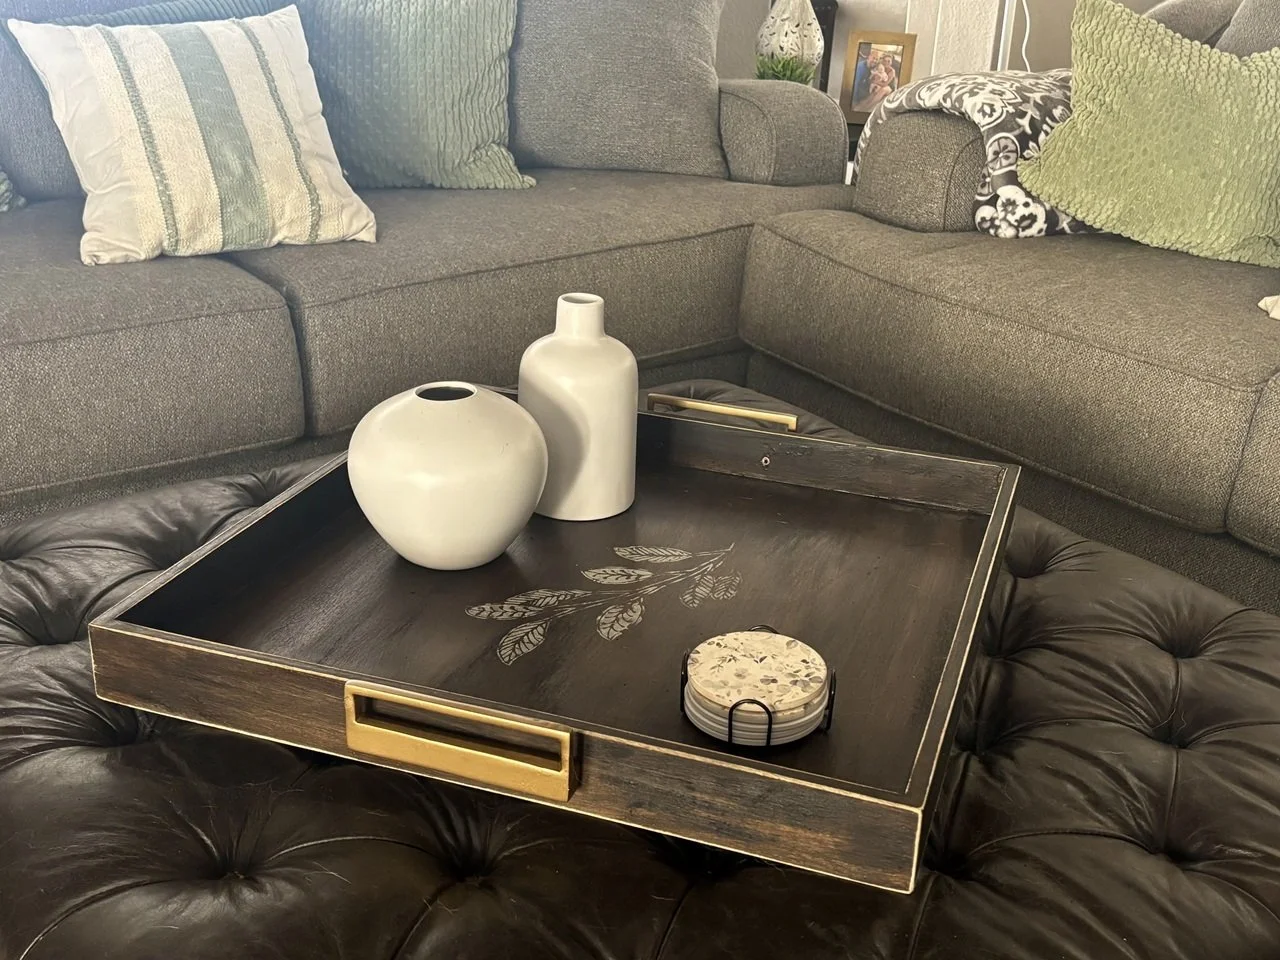
So the next time you're wandering through a thrift store, flea market, or yard sale, try looking at things a little differently. Don't let a bad finish make the decision for you. Don't automatically dismiss something because the hardware is dated. And don't assume scratches or wear mean a piece has reached the end of its useful life. Look deeper.
Those things can be altered and improved. Even if it takes four months to figure out exactly what and how. Creativity doesn't always happen on a schedule.
Now, what will you do next to love where you live?
Please feel free to reach out to us at The Redesign Habit and ask questions or simply share a project that you are working on or have completed.
For more great stories and ideas please follow us on Facebook, Instagram, and subscribe to our YouTube Channel.
You can also visit us at The Redesign Habit for even more inspiration.