The Redesign Process: From Plan to Progress
There’s a moment that happens right before any redesign begins. It’s that quiet pause where you’ve made the decision — something needs to change — but nothing has actually changed yet. No paint on the walls. No furniture moved. No tools out. And oddly enough, this is the most powerful moment in the entire process.
Preparation is not the glamorous part of redesign. It doesn’t show up in before-and-after photos. But it is the single step that saves the most time, money, and frustration once things are underway. This kind of preparation happens before any tools come out — whether you plan to DIY the work or hire professionals to do it. This is where real progress begins.
Why Preparation Matters More Than You Think
Most redesign stress doesn’t come from choosing paint colors or furniture.
It comes from:
- decisions made too late
- spaces that weren’t ready
- scrambling mid-project
- and realizing — halfway through — that something important was overlooked.
Preparation slows you down just enough to prevent all of that. Think of it as clearing the runway before takeoff. The smoother the runway, the easier the flight.
Preparation Steps
Step 1: Clear the Space — But Don’t Overdo It. Preparing a space doesn’t mean stripping it bare like a movie set.
Start with what needs to move:
- small décor
- fragile items
- anything that blocks walkways or work zones
What can usually stay:
- large furniture that isn’t being moved
- built-ins
- items that aren’t in the direct line of work
The goal isn’t emptiness — it’s access. Clear paths. Clear surfaces. Clear the mental clutter.
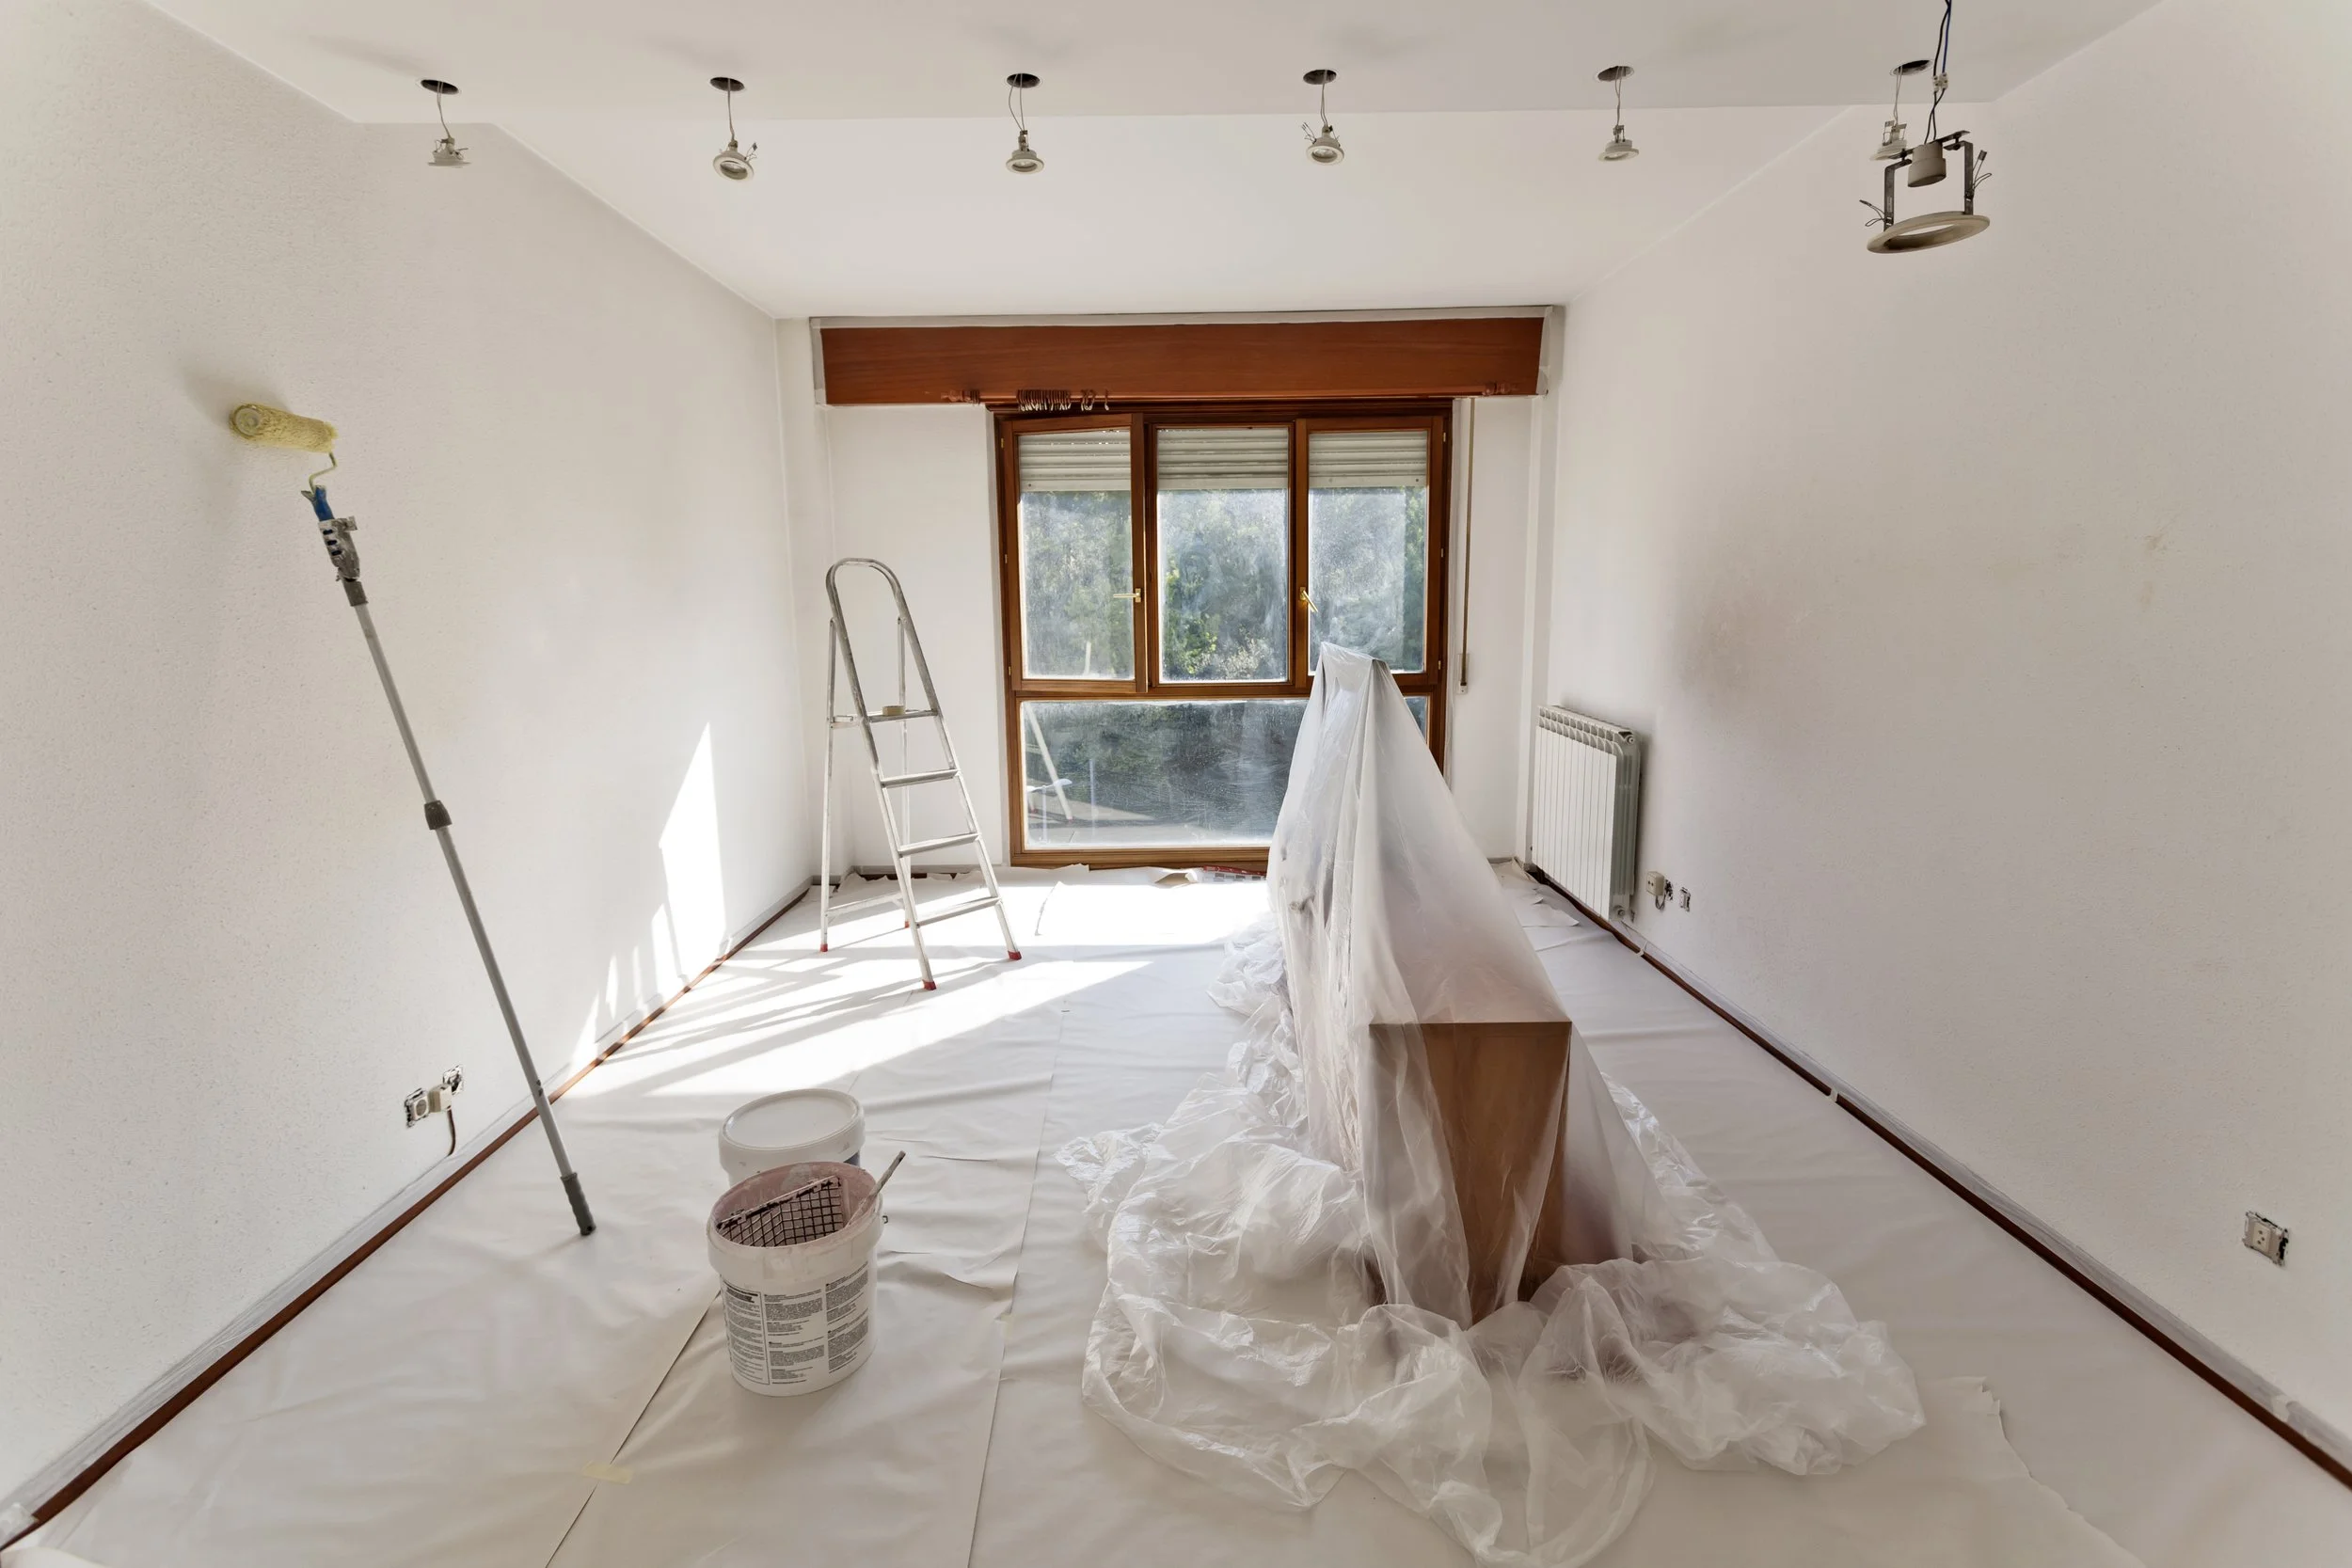
Step 2: Protect What You’re Keeping
Before any work begins:
- cover floors in high-traffic areas
- protect furniture that stays in the room
- pad sharp corners or delicate finishes
Protection isn’t pessimism — it’s prevention.
Step 3: Measure, Photograph, and Document Everything

Before changes happen:
- take photos from multiple angles
- measure walls, openings, and clearances
- jot down notes about what currently works and what doesn’t
Future-you will be very grateful.
Step 4: Make the Big Decisions Early
Before work starts, decide:
- layout changes
- materials and finishes
- who is doing what
- what is staying and what is going
You don’t need every detail finalized, but you do need the direction set.
Step 5: Prepare Yourself
Redesign isn’t just physical — it’s emotional. Progress rarely looks pretty in the middle. Discomfort doesn’t mean something is wrong. Pauses are allowed.
When a space is prepared:
- work can move faster, which saves time
- saving time often means saving money
- communication is clearer
- stress levels drop significantly
- confidence rises
You’re no longer reacting — you’re participating. And that’s exactly where you want to be.
Once your space is prepared, you’re ready to decide what you can do yourself — and where professional help makes sense. Because redesign isn’t about rushing — it’s about moving forward with intention.
Now, what will you do next to love where you live?
Be sure to visit The Redesign Habit to share your redesign stories or reach out with your questions. We’d love to hear what you’re working on.
For more great stories and ideas please follow us on Facebook, Instagram, and subscribe to our YouTube Channel.